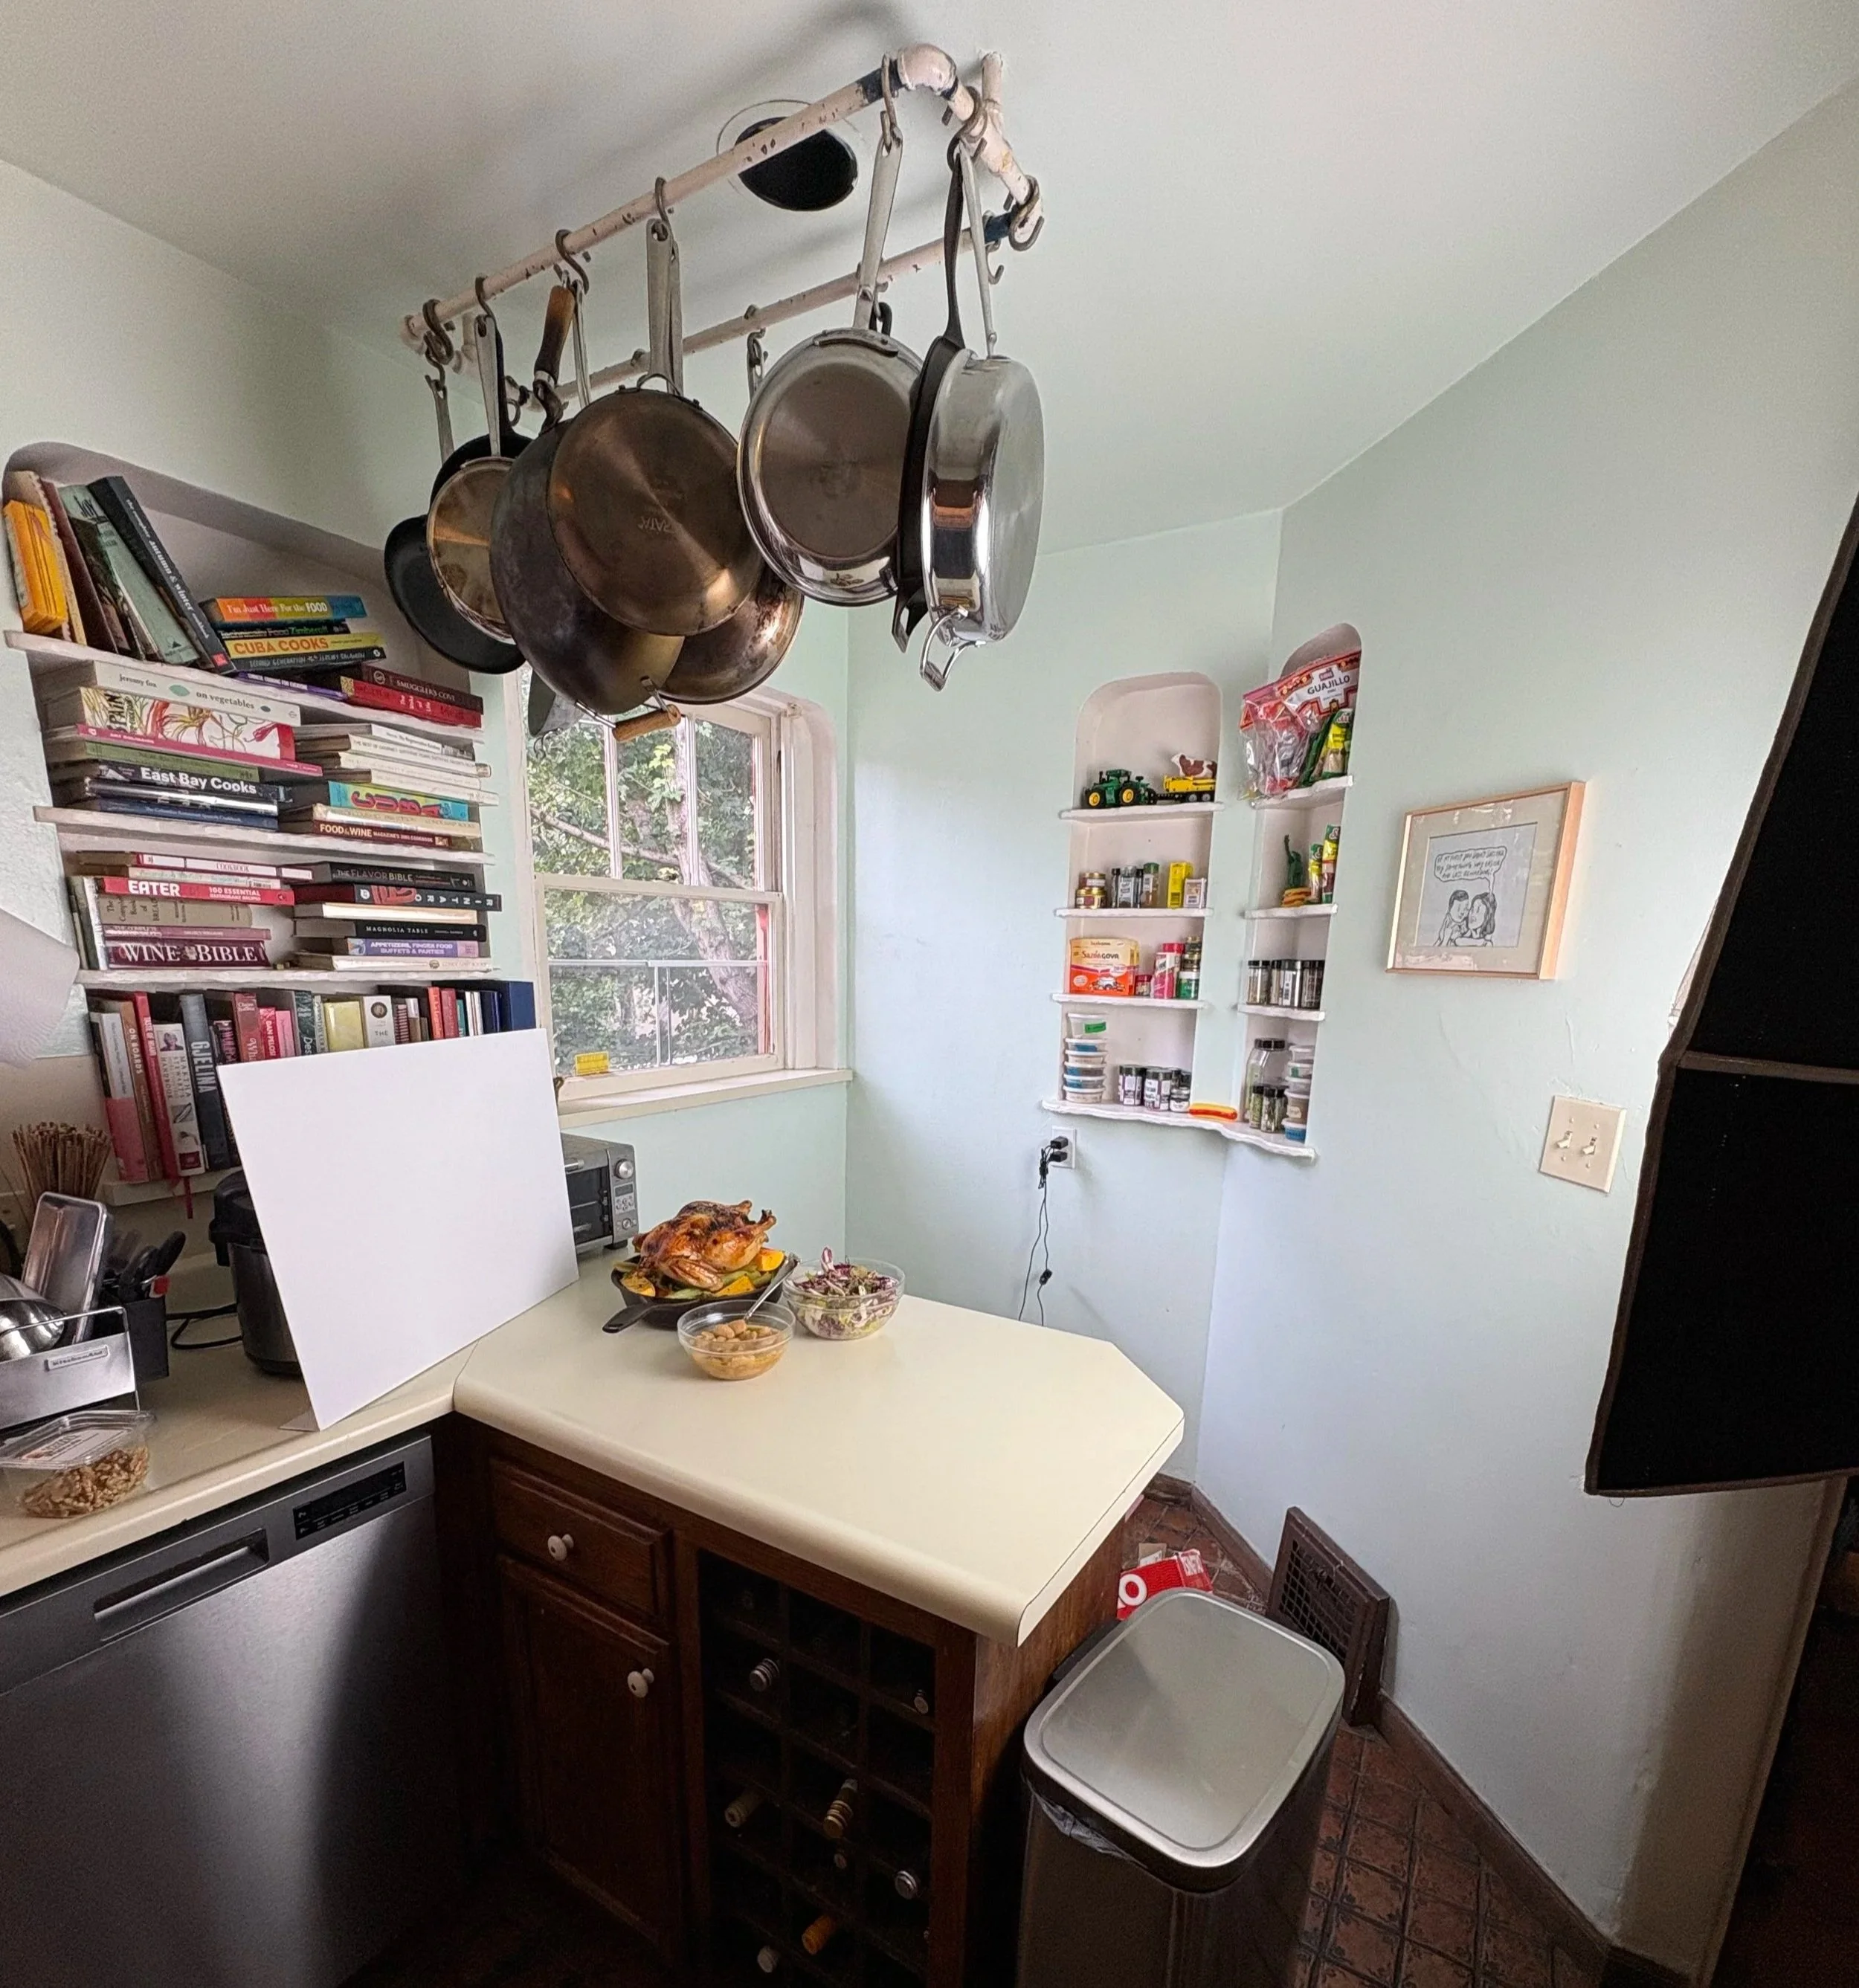
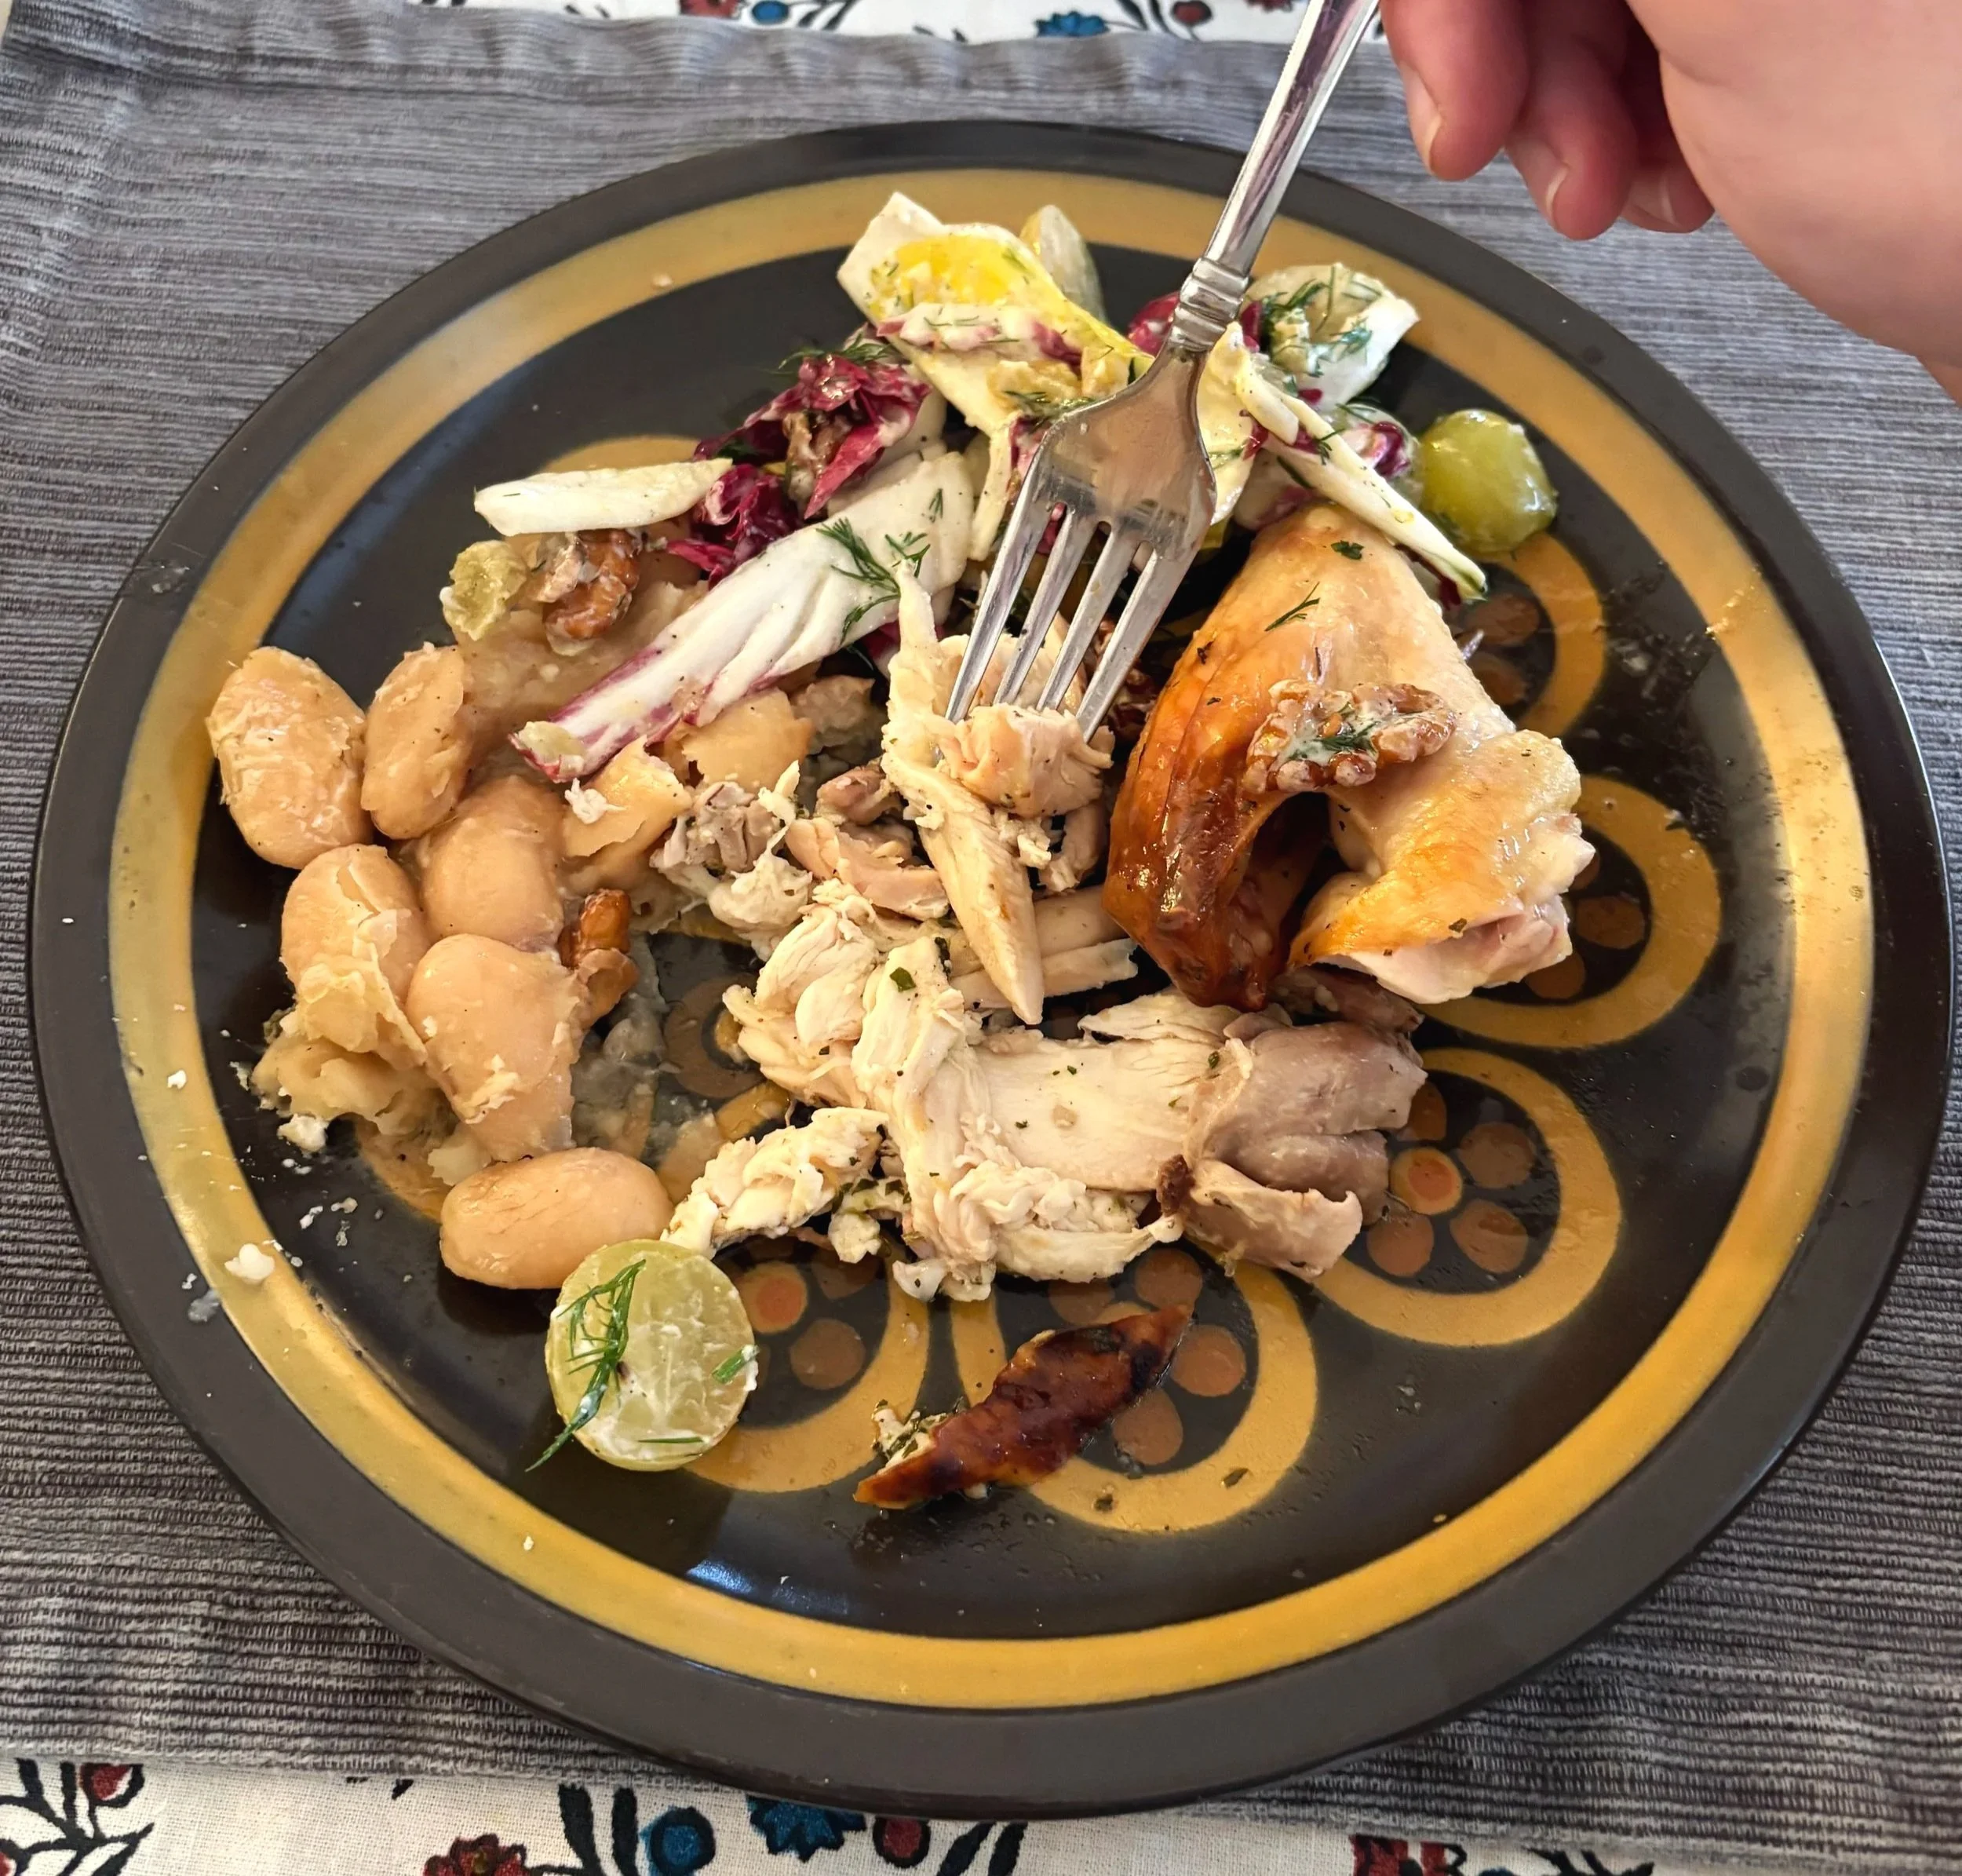
Roast Chicken & Beans
Brine your chicken with salt and let it sit in the fridge for 48 hours, then cook it in the oven at 475° F for one, flipping halfway through. Just add some salt and rosemary to your chicken and throw it in the oven at 400° F – don’t worry about trussing it, and if you’re looking for crispy skin that’s not a thing that happens. anyway. Soak your beans overnight. Don’t soak them. Salt them. Don’t salt them.
For real though, what the fuck are we supposed to do??
The reason why there are so many different recipes for roast chicken and beans as opposed to, say, making salad dressing is that making them taste good is indeed complicated, no matter how basic ( 😉 ) these ingredients might be. You can make a roast chicken and beans one way and they will come out amazing, then make them the exact same way again and they won’t be quite right. But there are some things you can do to maximize their deliciousness every time.
Roast Chicken
I do indeed know I’m a terrible chicken carver.
When it comes to roast chicken, there are only really two things you must worry about:
Salt Ratio
for every 1 lb of chicken add ¾ Tbsp of Kosher salt
this ratio comes from the OG Momofuku cookbook for seasoning pork belly, and I think it applies to every type of roasted meat (in my experience)
idk why you’re not using Kosher salt if you aren’t yet (unless you’re a grandma/auntie) but other salt ratios will be different (Morton’s table salt is twice as salty as Kosher salt for instance, sea salt is a bit saltier too)
Temperature
you DO NOT need to cook your chicken to 165° F and you shouldn’t, unless you want it to be really dry. Salmonella does die instantly at that temperature, but it also dies at lower temperatures – it just takes a bit longer for it to do so.
save this chart on p. 5 in your phone
cooking your breast to the 150° F - 155° F range will result in a much tender breast and carryover cooking will ensure that all Salmonella is absolutely dead
get a thermometer, preferably one that’s oven-safe that you can put in your chicken while cooking. We have this one, which comes with two thermometers
you should really put one thermometer in the breast and one in the thigh; thighs are a lot more forgiving and are delicious at higher temps, but they don’t cook at the same rate that breasts do and you don’t want them to be undercooked
trussing and stuffing the bird’s cavity actually does help ensure more even cooking (this is also why people spatchcock, but personally there’s nothing like the look of the whole bird)
The chicken I got was 4.5 lbs, so that equates to 3.38 Tbs salt – or for all intents and purposes 3.33 Tbsp.
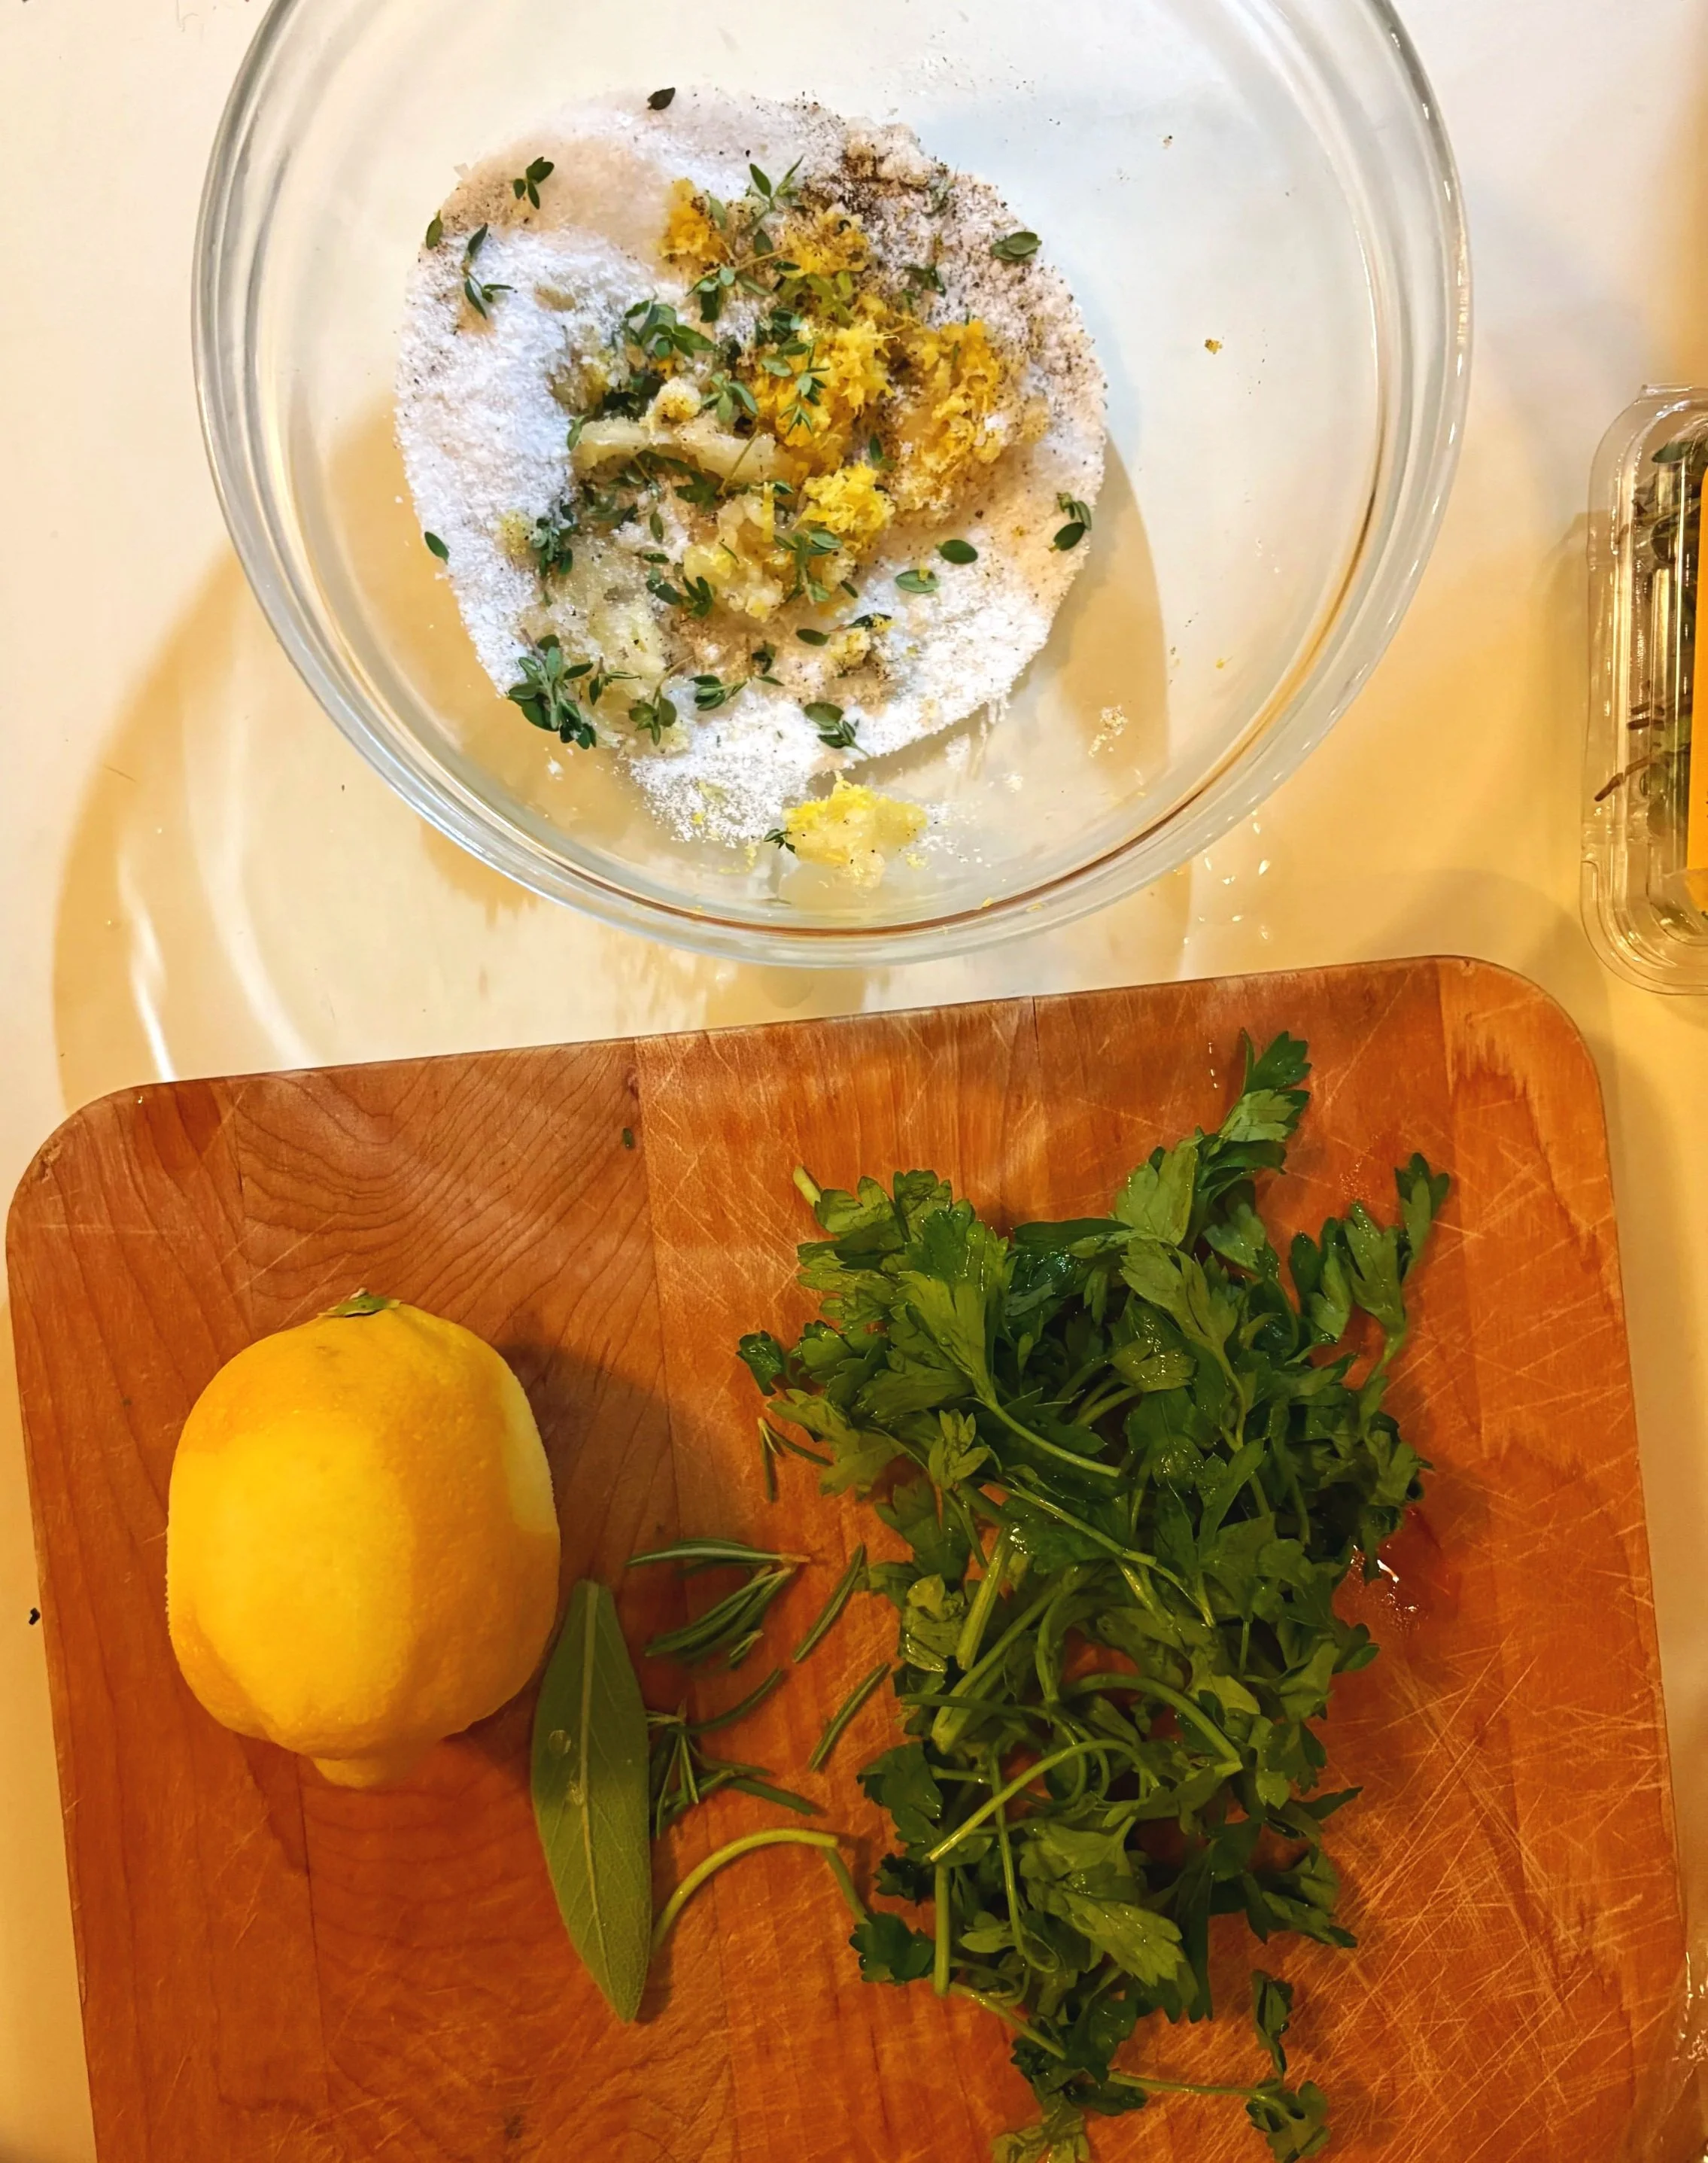
Besides salt, you can rub your chicken with lemon juice + zest, herbs, and black pepper of course for that classic “white person chicken” flavor. For every 4 parts salt, I like adding one part sugar (for 3.33 Tbs that equates to just under a Tbs (you can round up)) and 2 big shakes of MSG.
When you rub the chicken, you really want to get it all in there. Grab some rub and carefully slide your hand under the skin covering the breasts, thighs, etc. Go slowly, the skin loosens as you rub but you also don’t want to break it because the skin ensures the chicken stays nice and moist as it cooks.
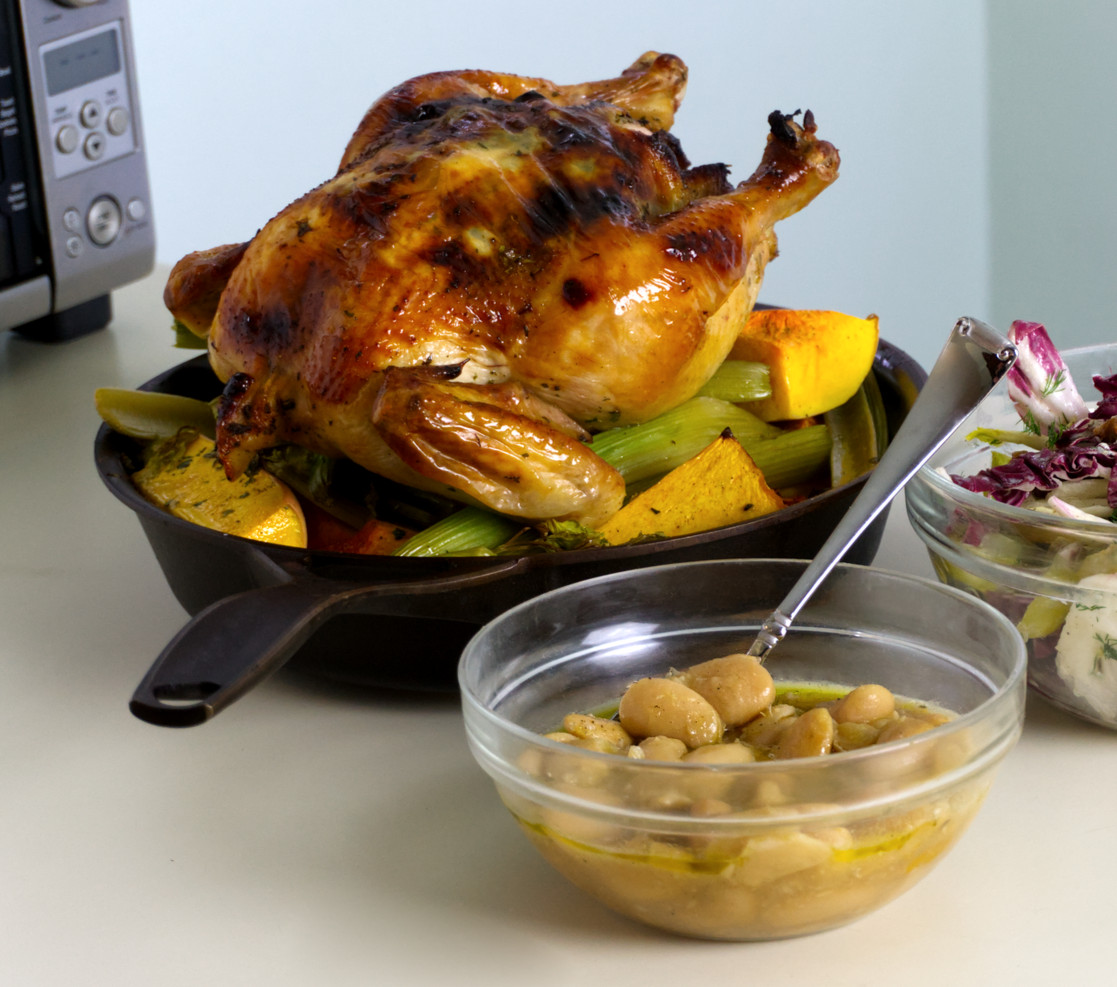
If you’re feeling extra, which we are, also think about giving it height. Rotisserie chicken is maybe the best way to cook chicken because every part of it is directly exposed to the same heat source, which also allows every part of the skin to brown. Cooking it on a wire rack is really they best way to replicate that at home so the chicken can be exposed to as much hot air as possible. Wire racks are also really annoying to clean, so we tried cooking it on top of strategically laid-out vegetables on a cast iron instead. We really wanted to riff on the beer can method but it just wasn’t stable enough to recommend. At least, not at this time…
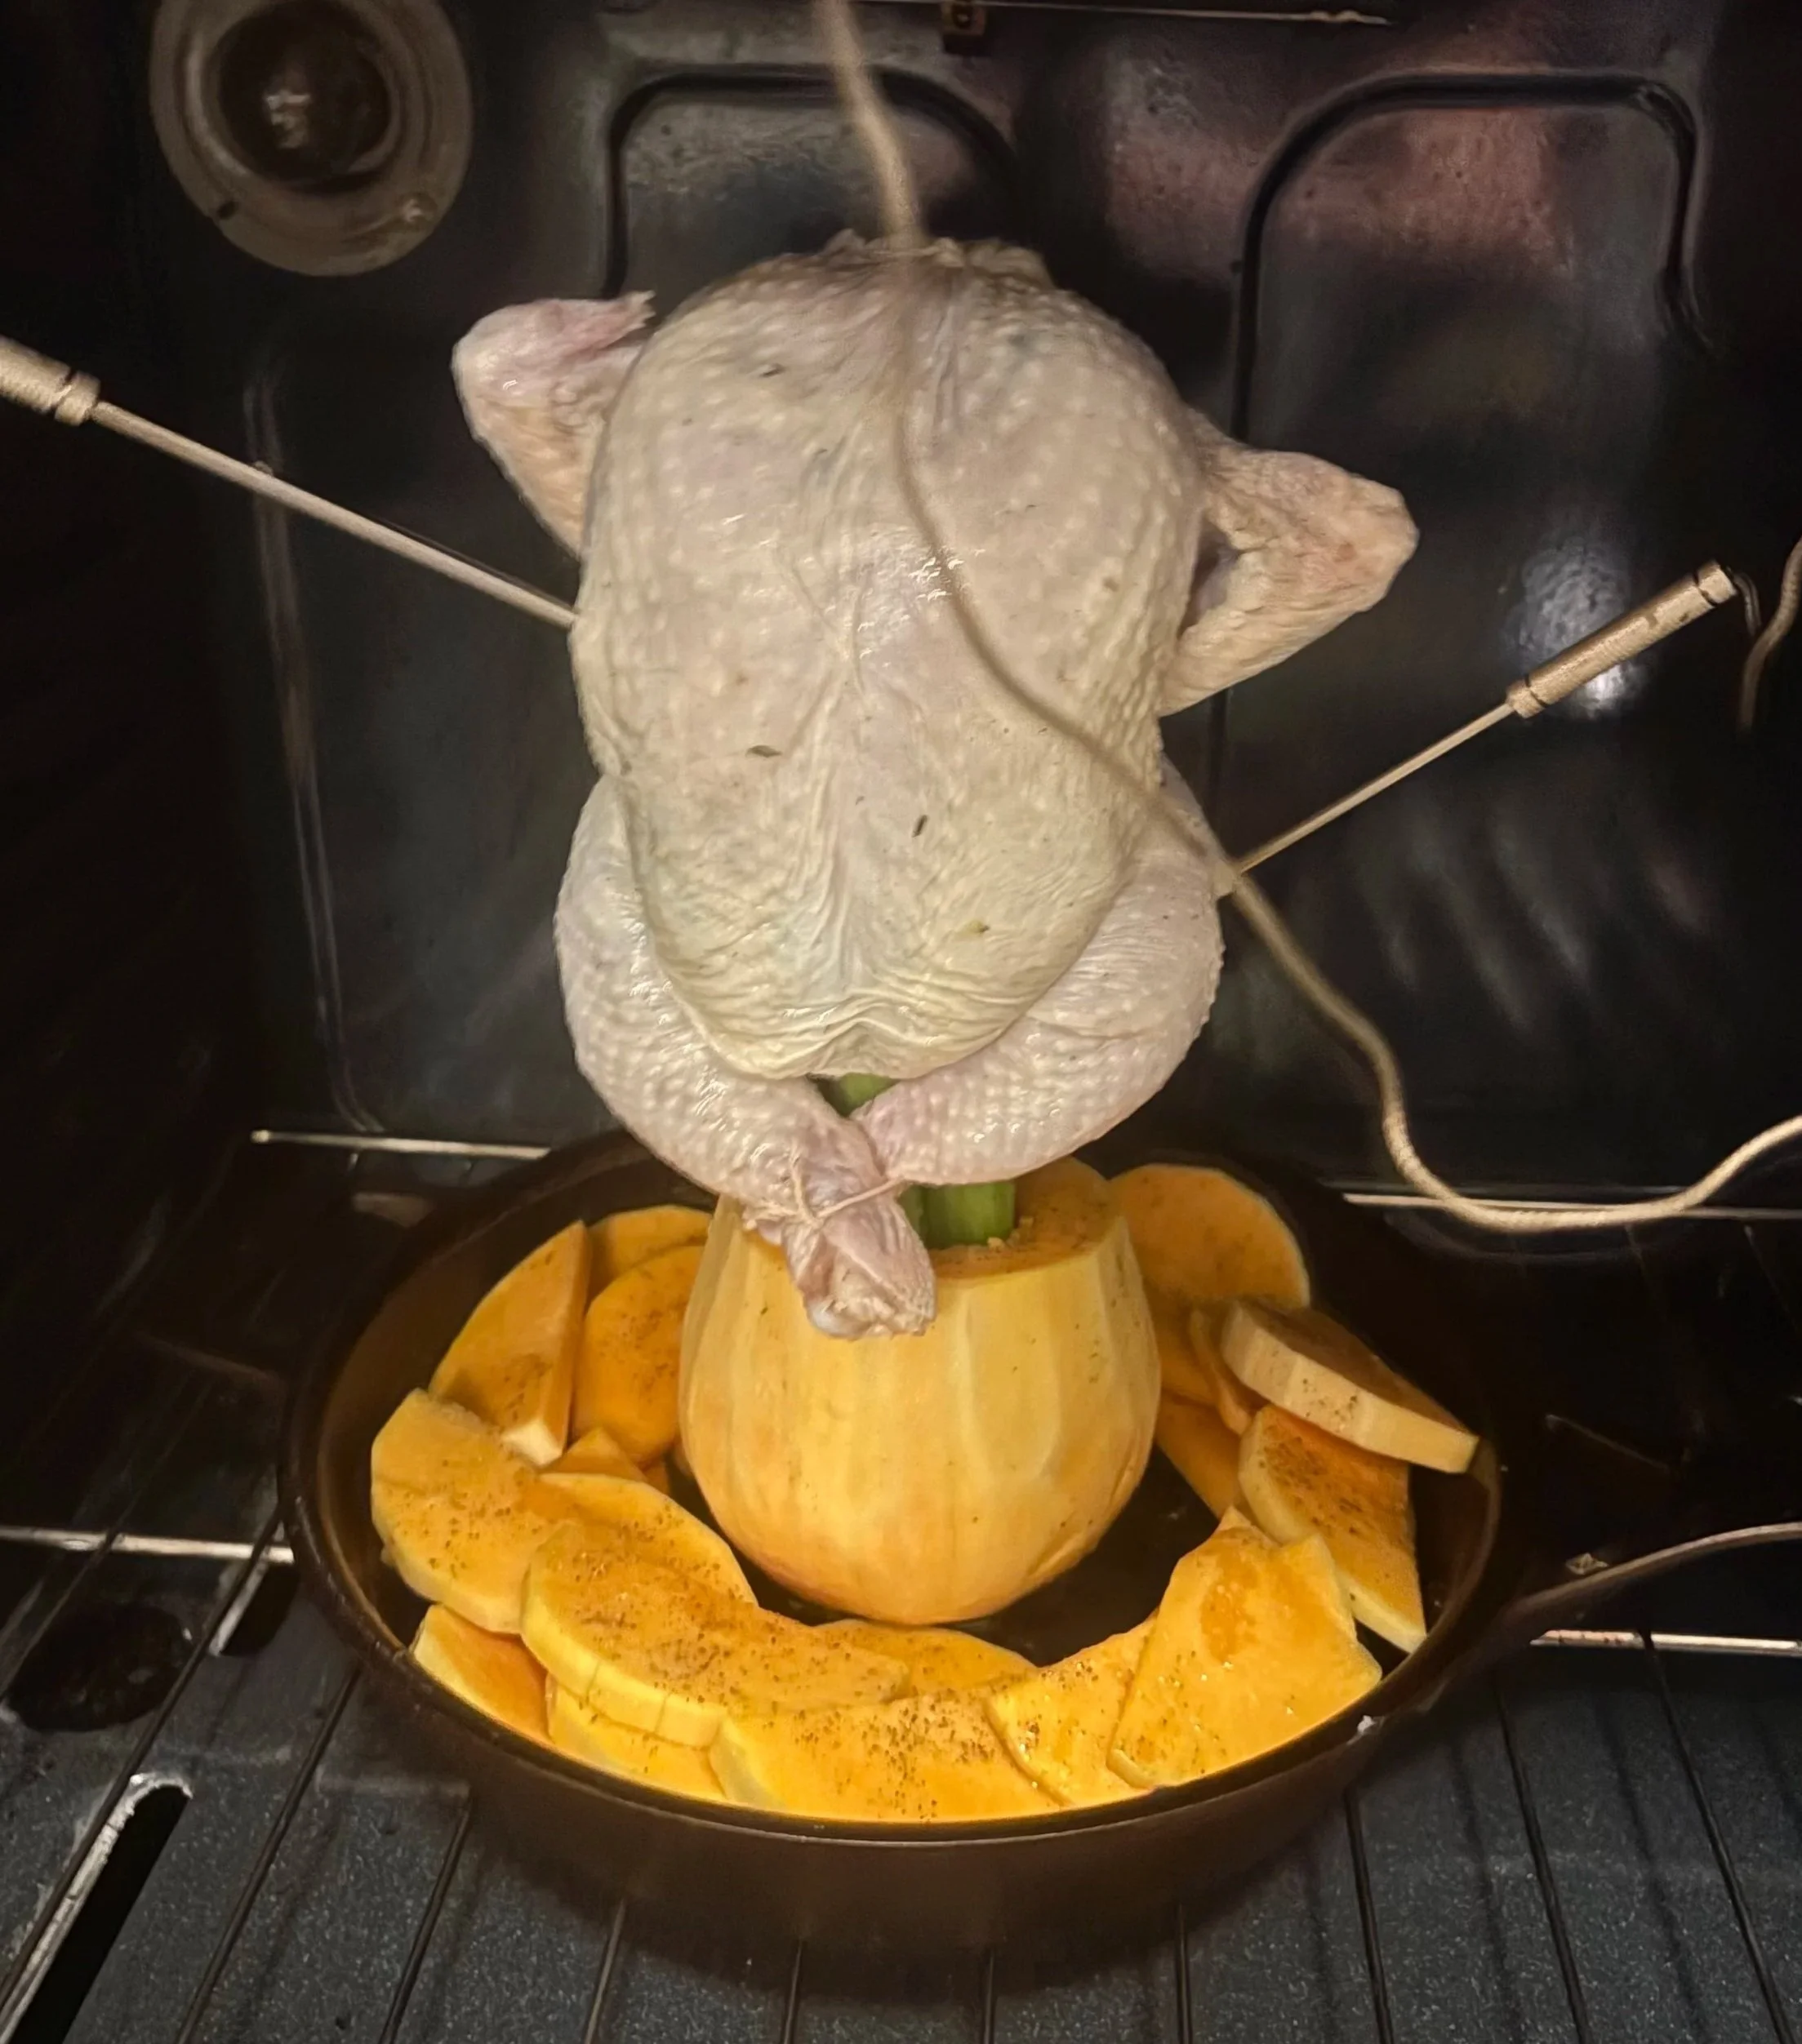
I wanted this to work so badly.
Alas, the chicken fell over while it was cooking.
After roughly chopping these sturdy vegetables (celery and butternut squash) I brushed the chicken with olive oil (like 2 tsps, just enough to make sure it’s covered (oil helps the chicken brown nicely but so much fat renders off the skin so you don’t need THAT much imo)) and put it in a cold oven (putting the chicken in cold and letting it gradually heat up renders more fat out, resulting in a crispier skin). Then I turned the oven up to 500° F for 30 min, then reduced the heat to 375° F until the thermometer hit 150° F. With carryover cooking, the temperature rose to 164° F over the course of 20 min (it’s rare for the temp to rise this high I feel like).
The cook was ALMOST perfect, and indeed the breast was, but the bottom of the chicken did not get hot enough — probably because all these vegetables were absorbing all the heat. (I also cooked this with only one thermometer in the breast, if I had put one in the thigh also I would have known to adjust accordingly by either flipping the chicken or lowering the rack.)
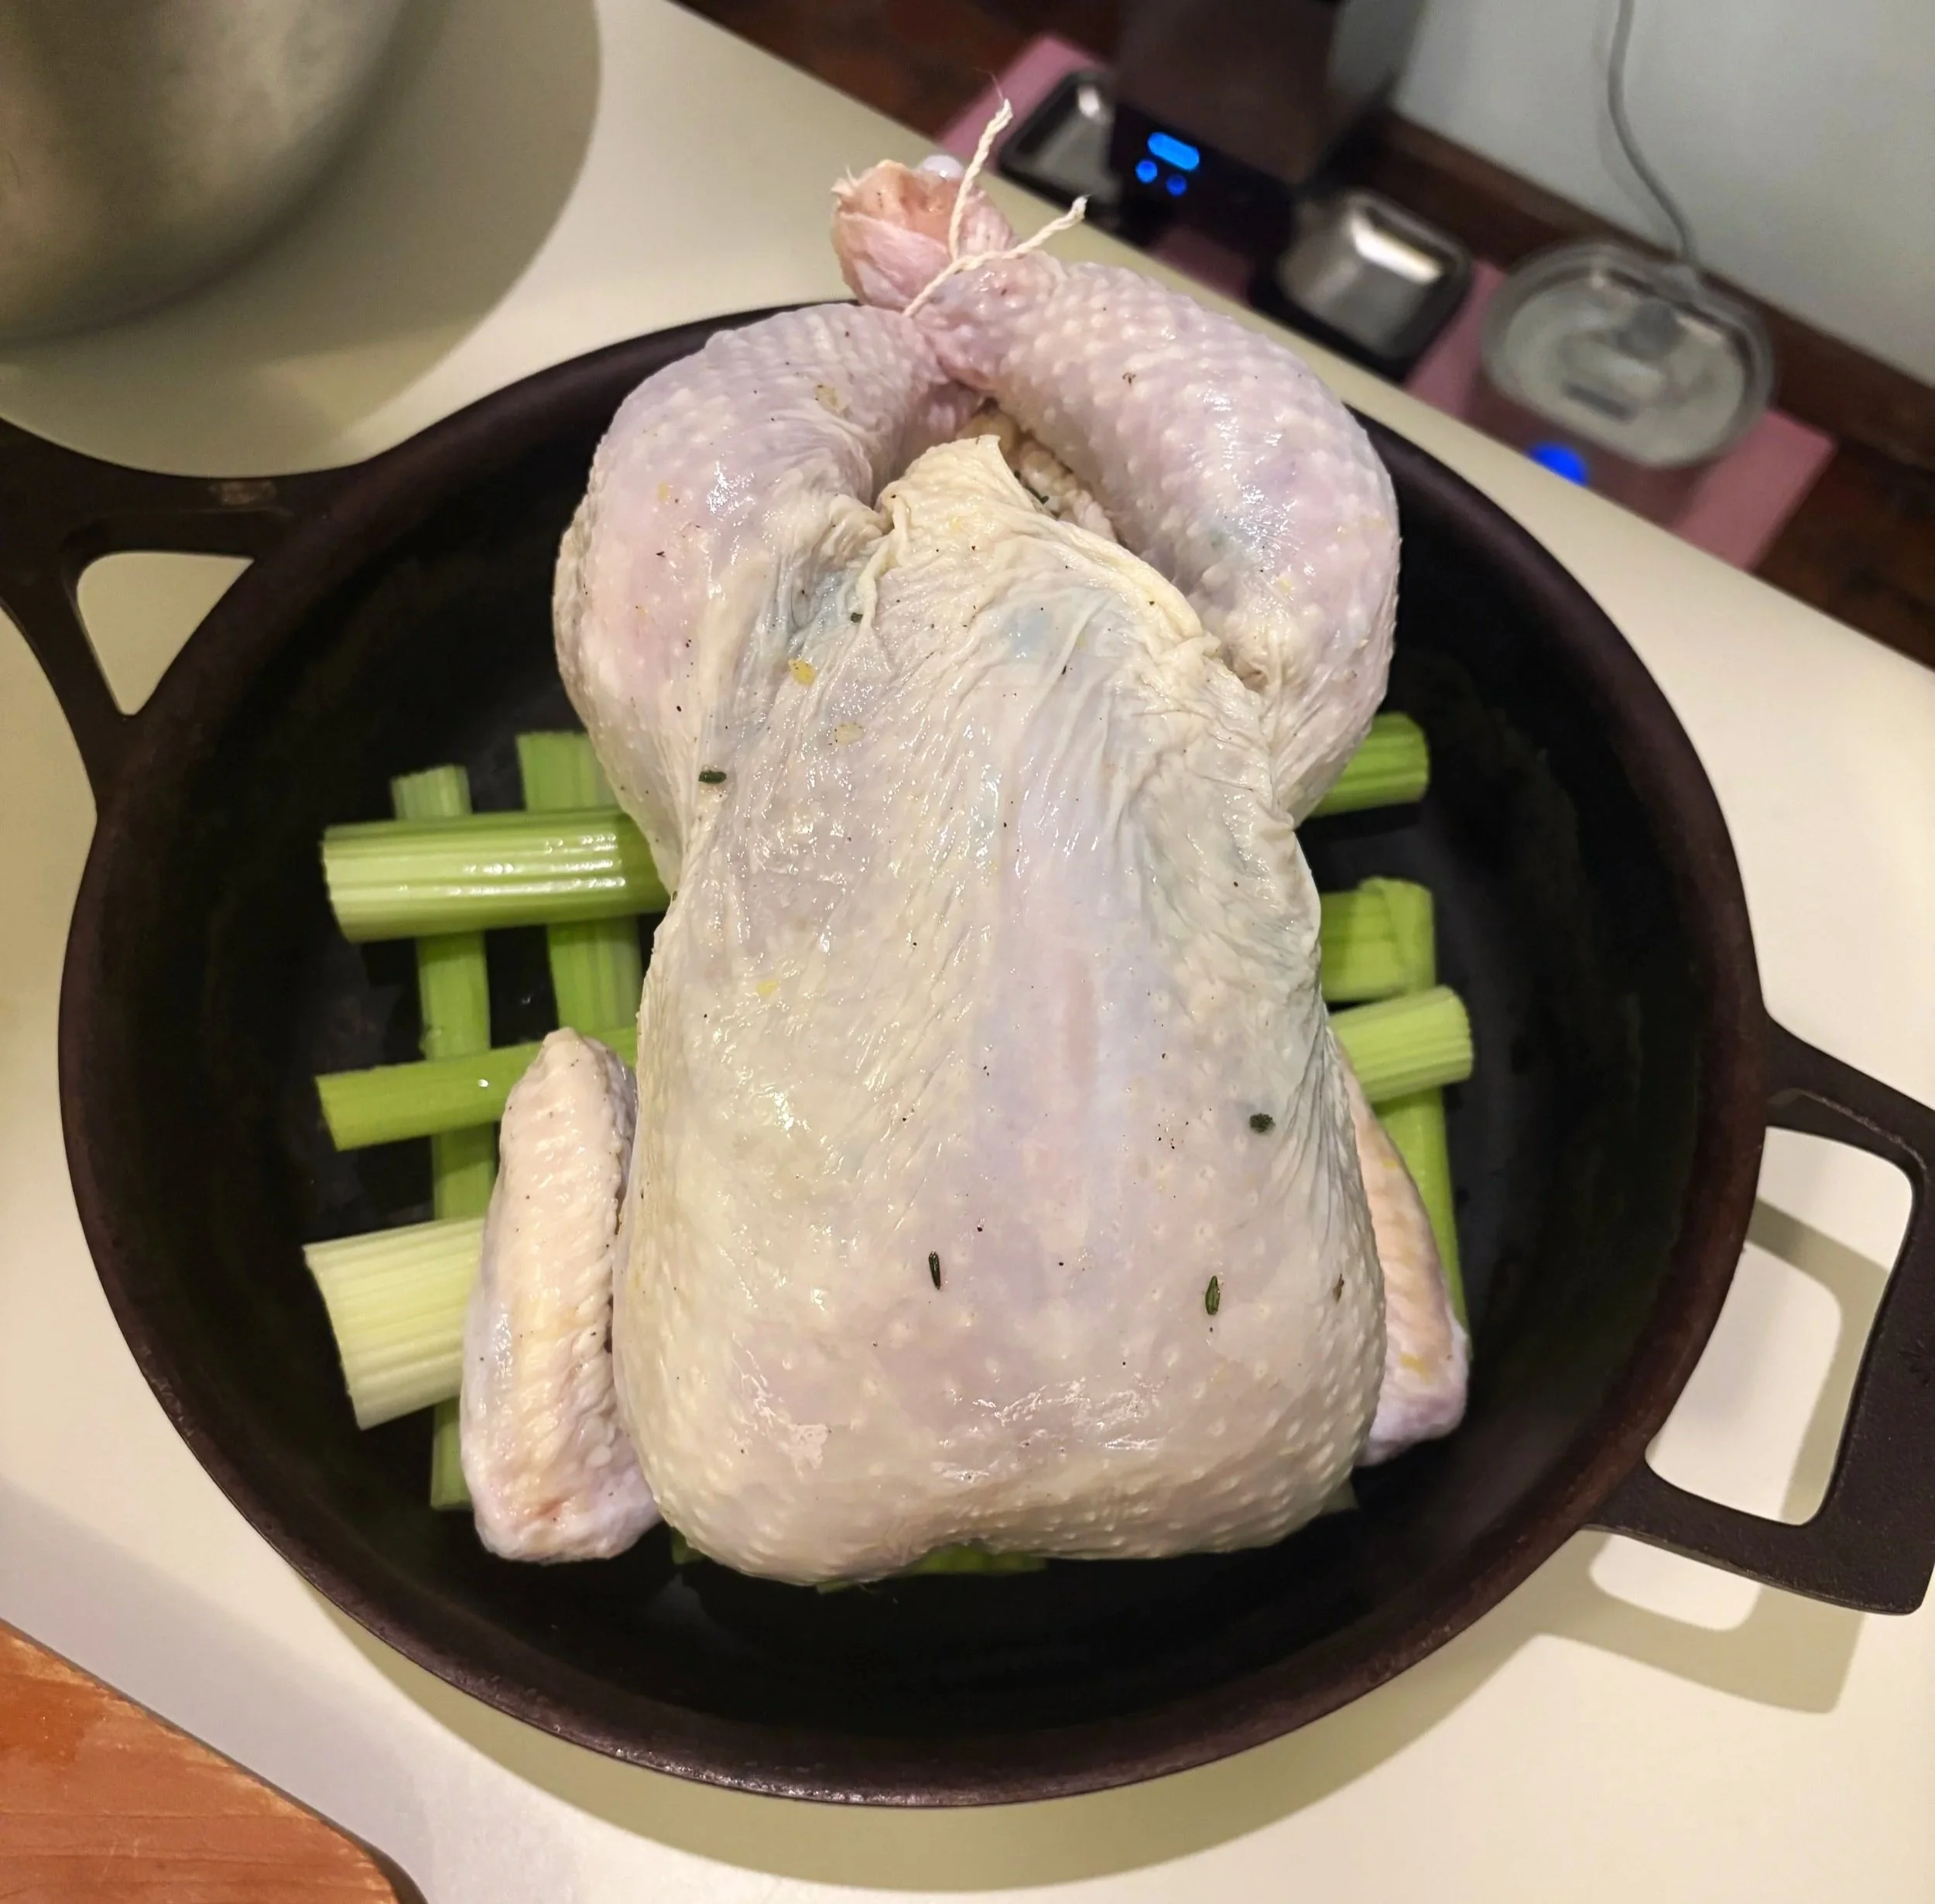
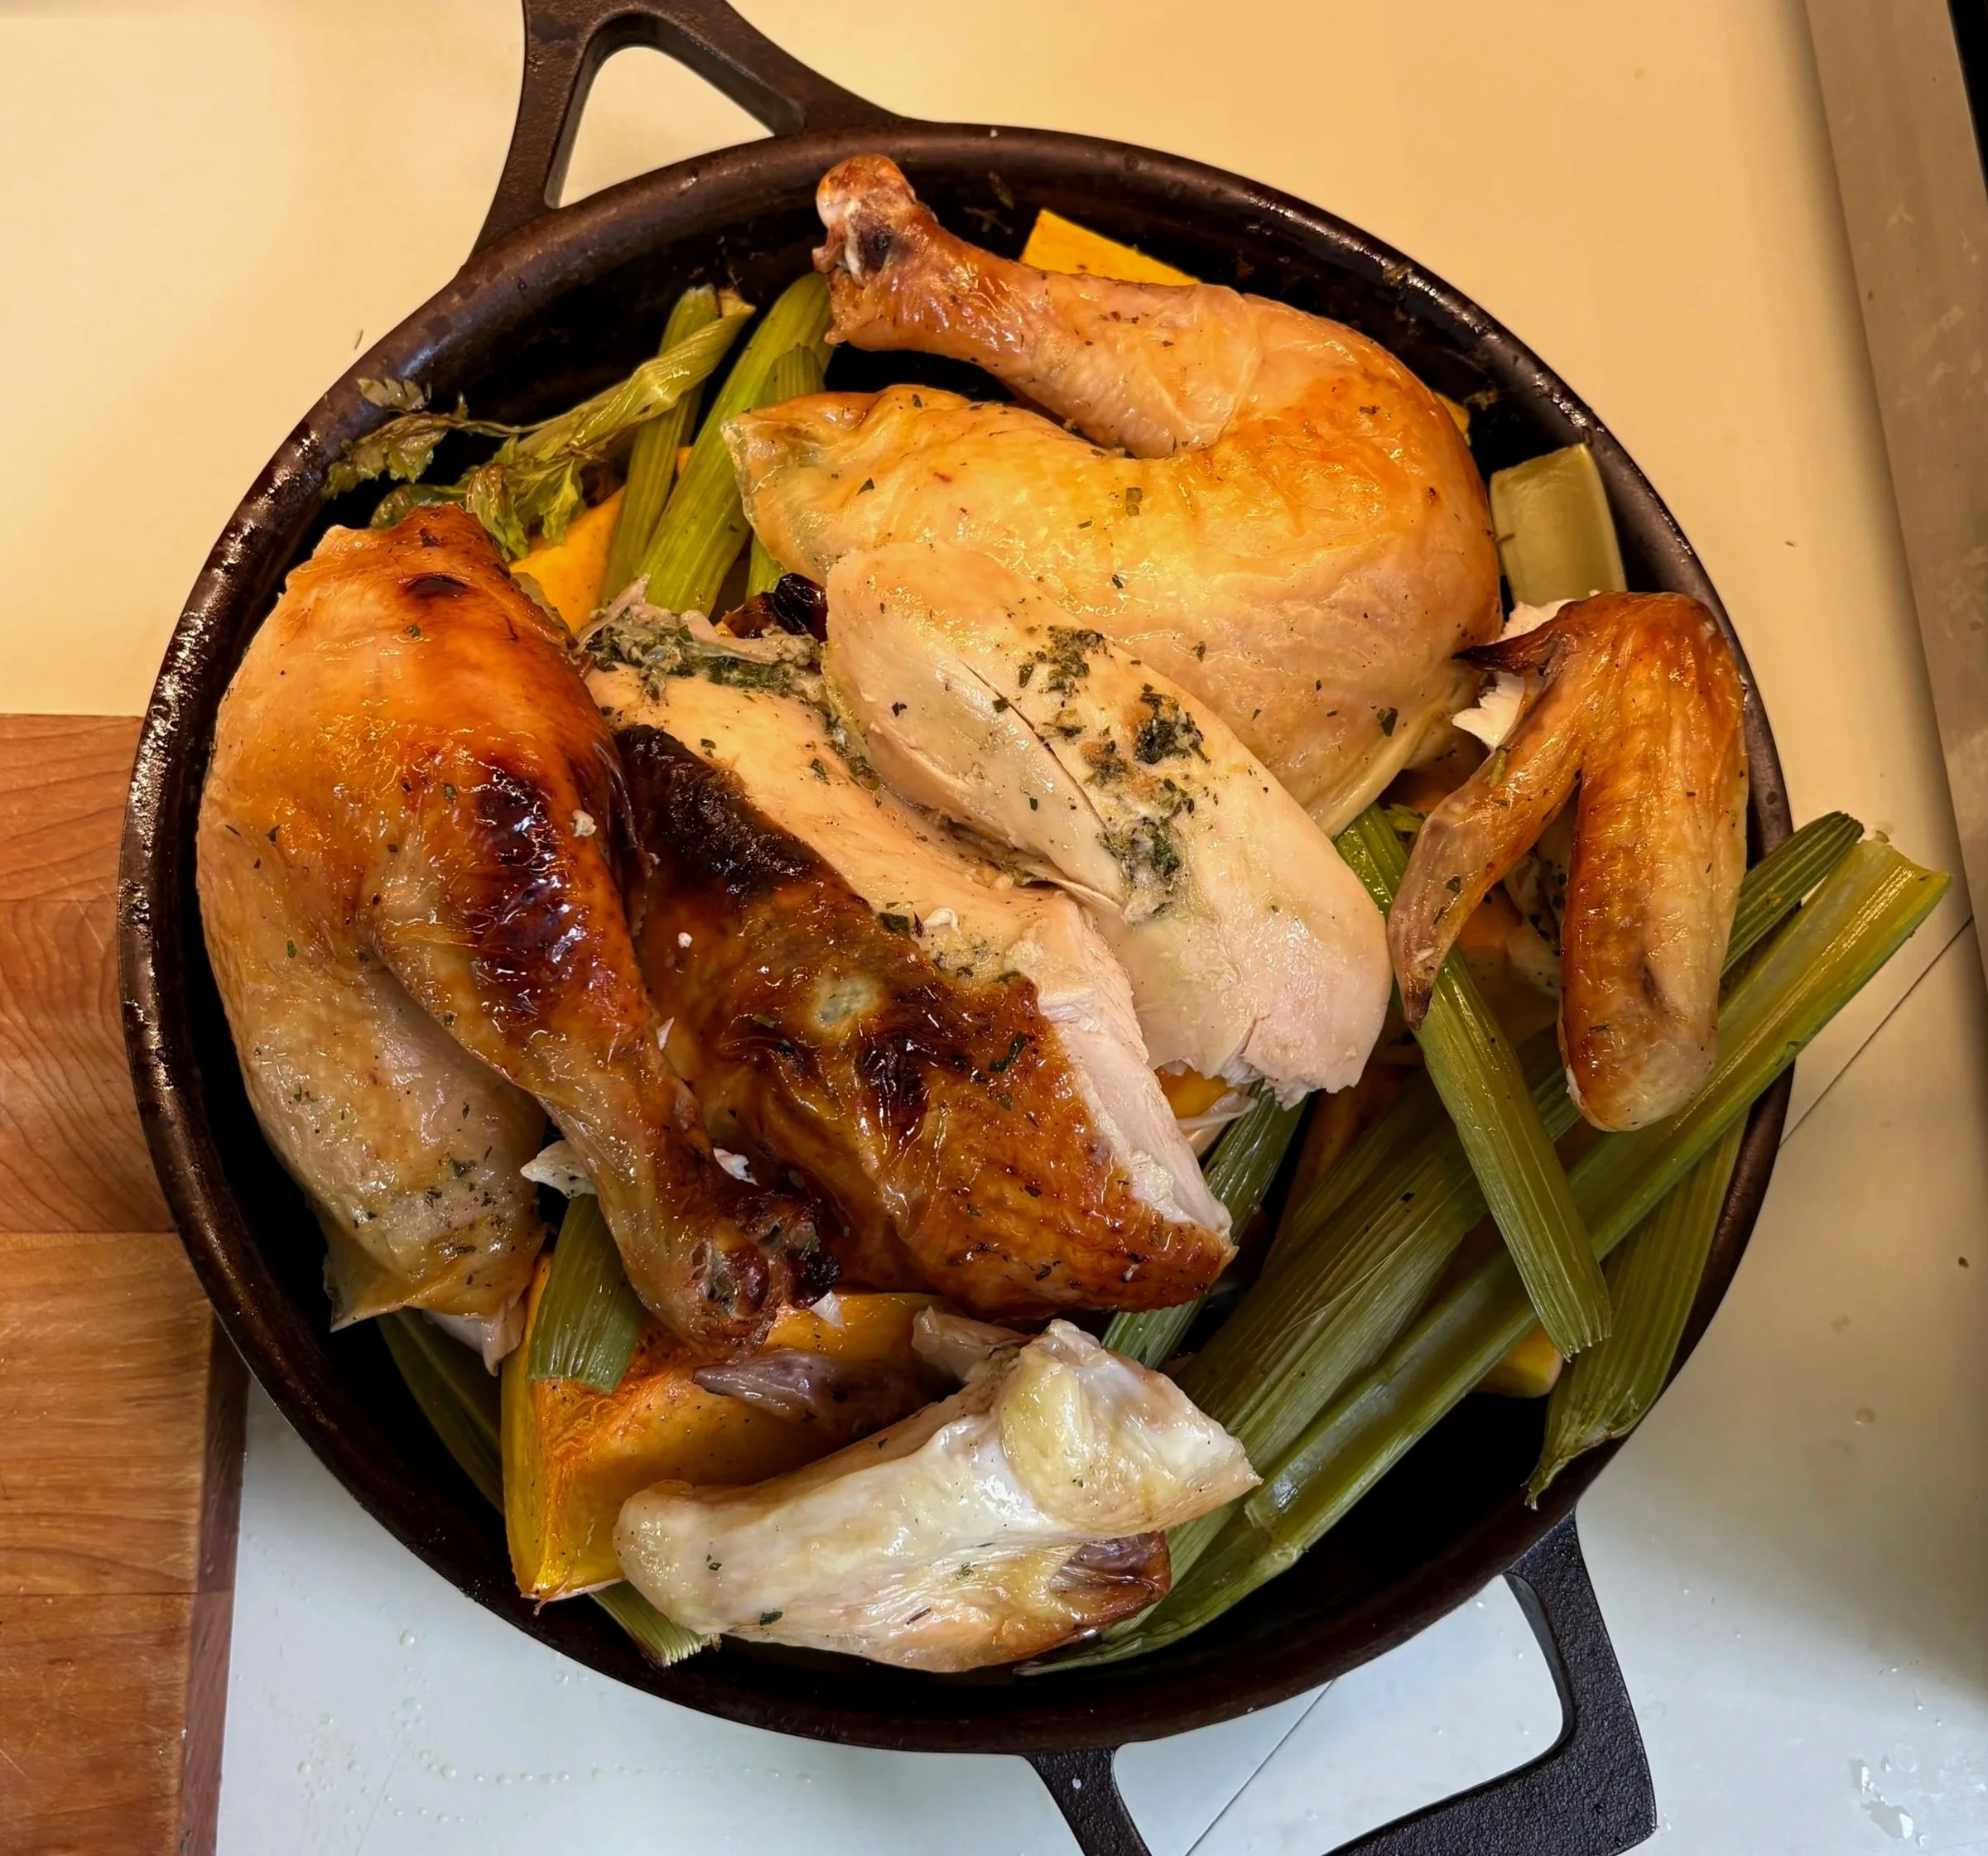
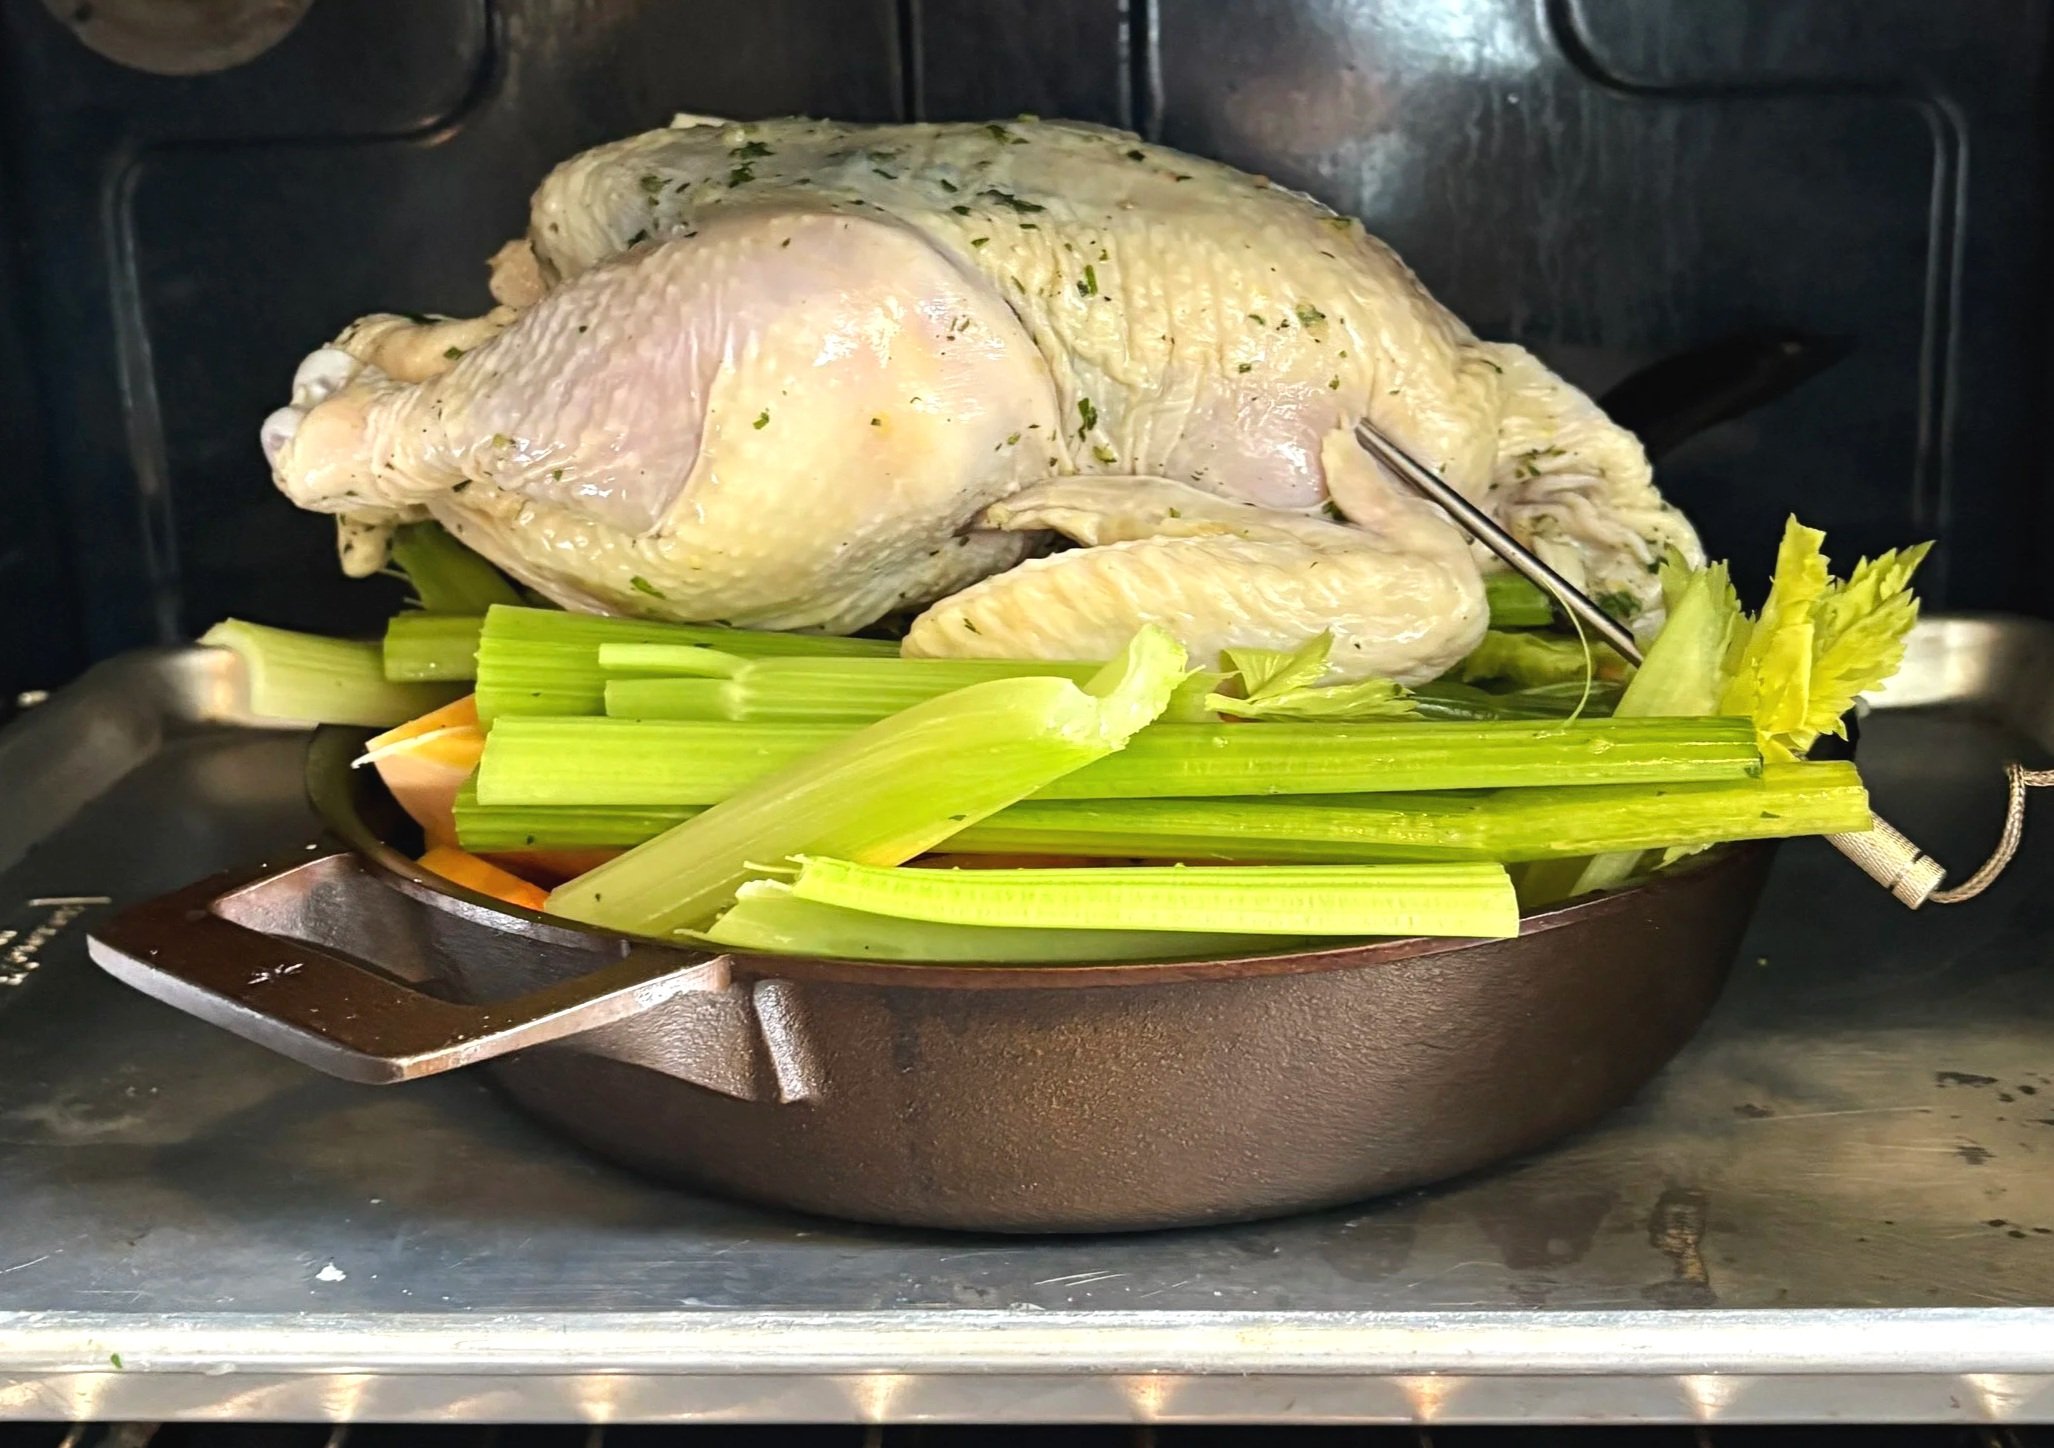
Tried this again with a grid of celery so the chicken would be closer to the warmth of the pan (again, should have just done this on a wire rack).
Look how nice my truss is though!
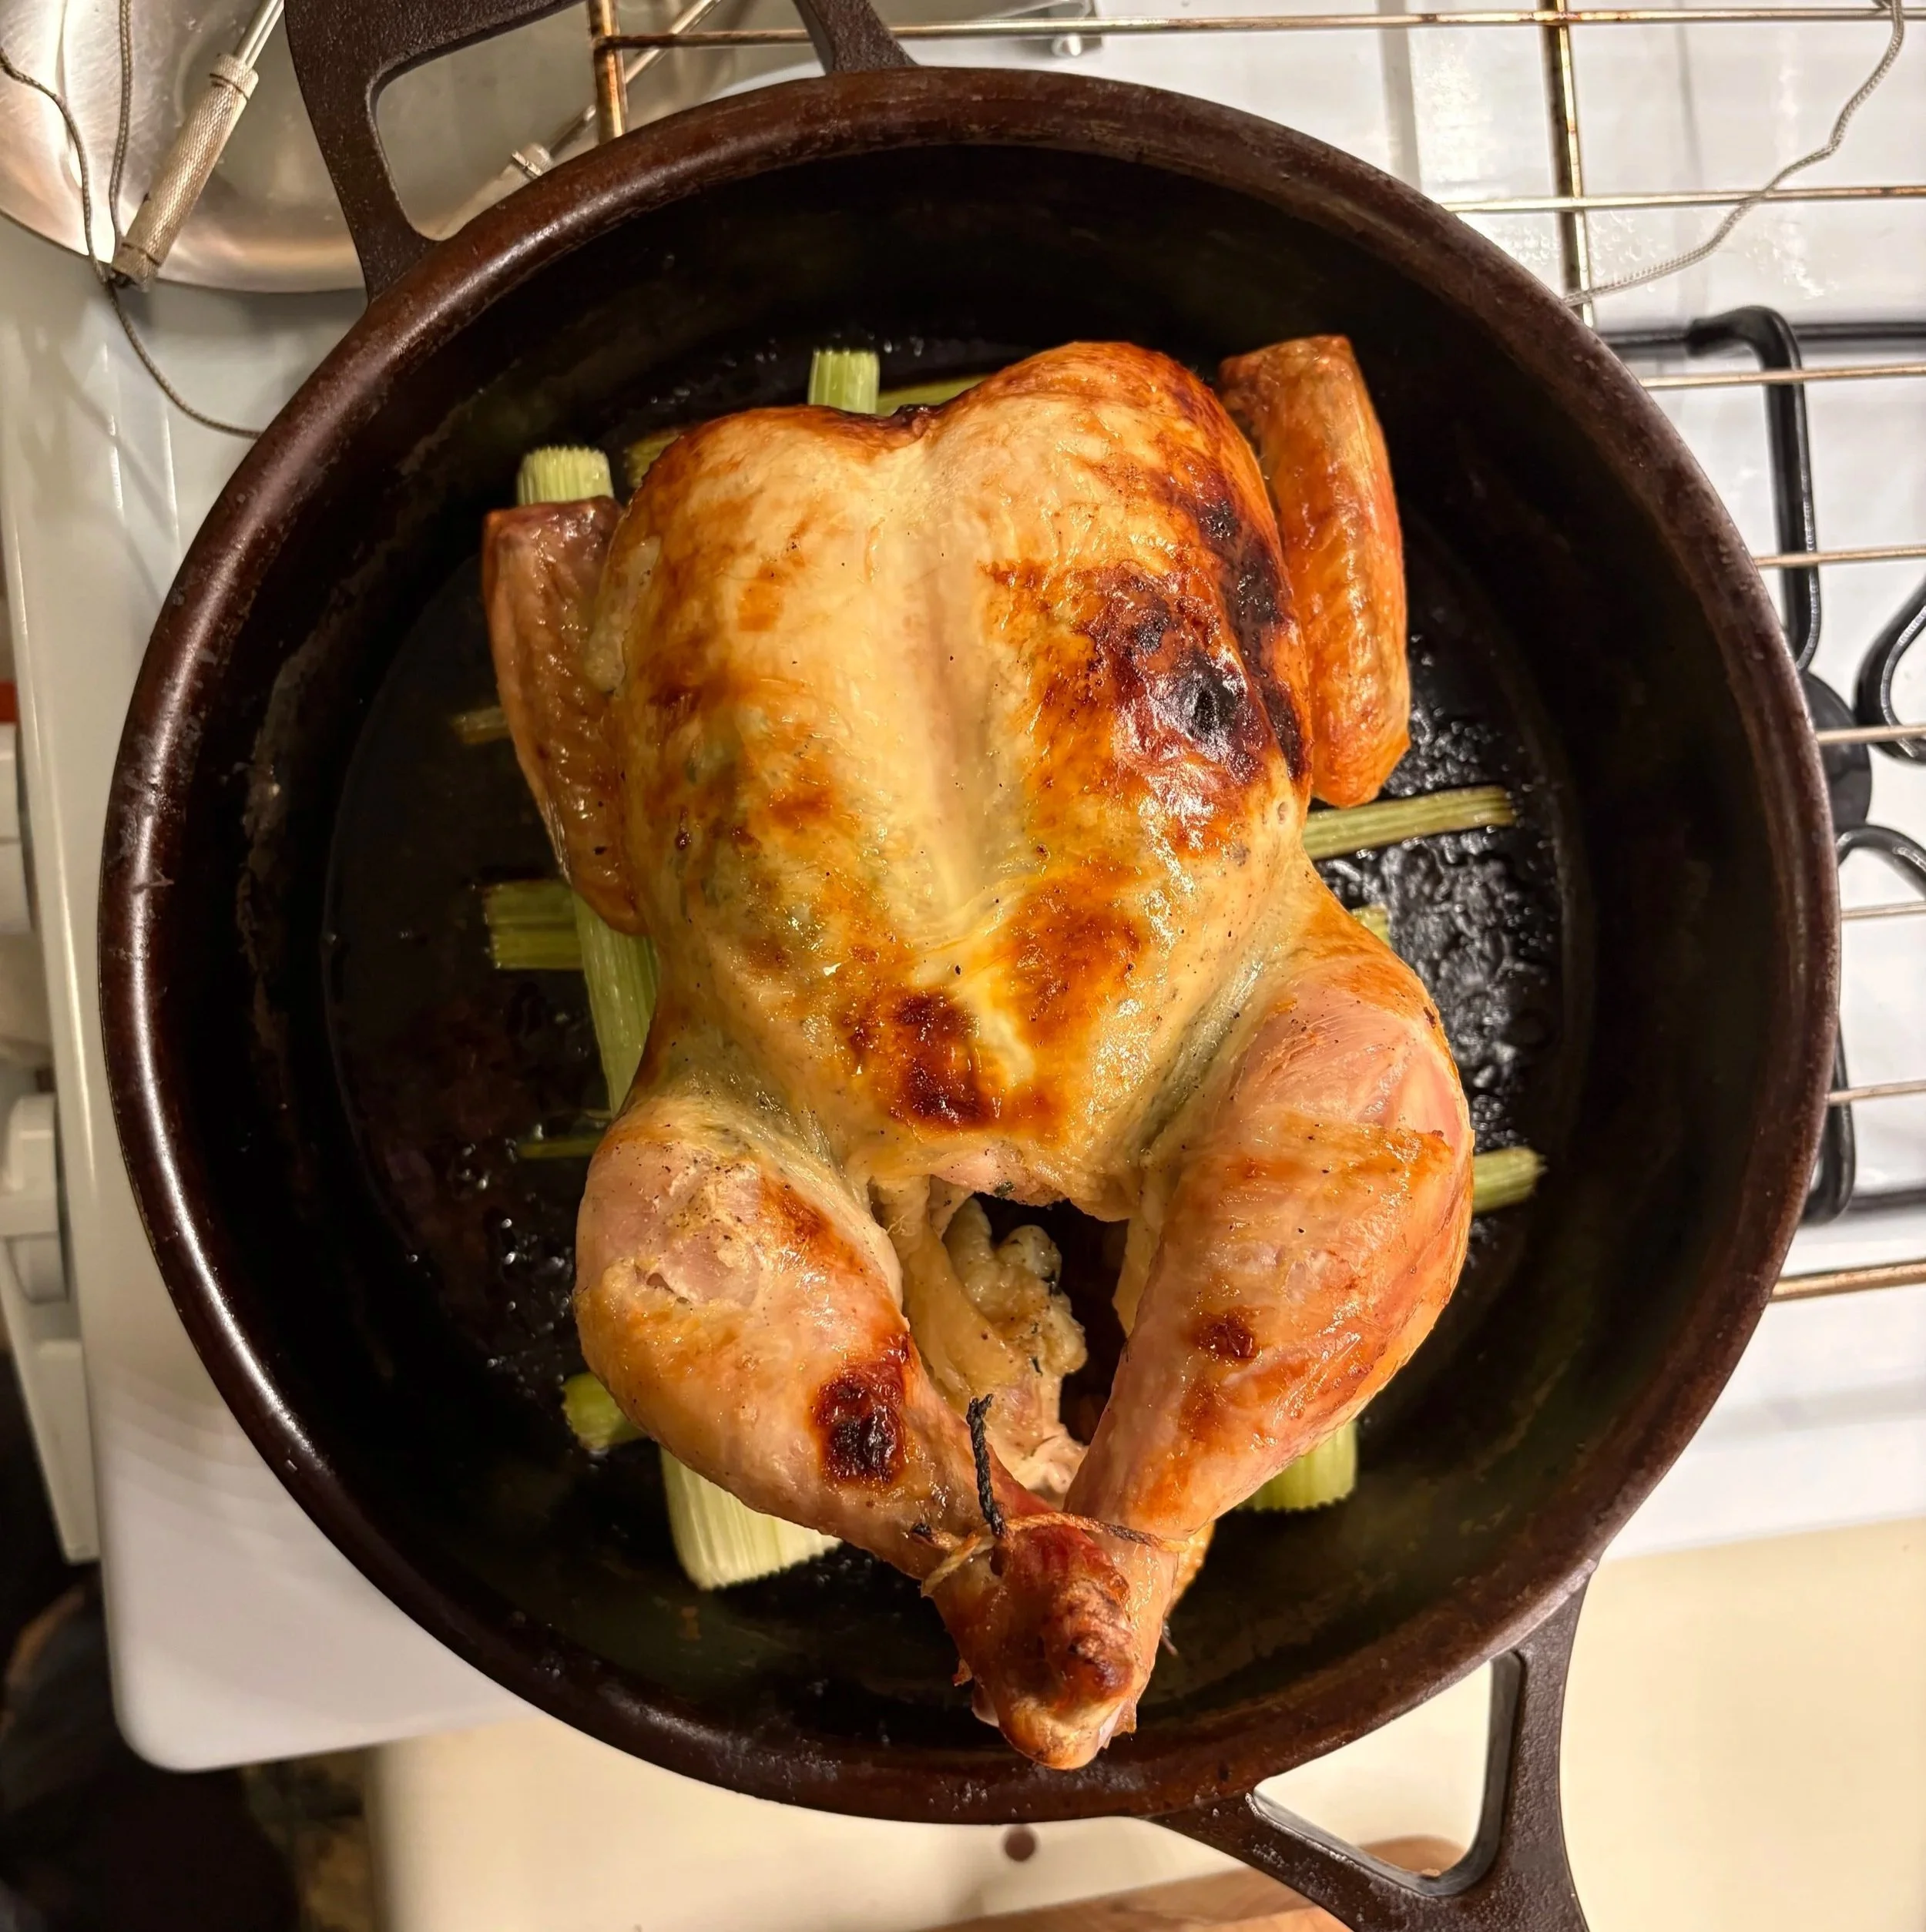
This chicken was cooked using the same method as above but I put in two thermometers instead of one: one in the breast and one in the thigh.
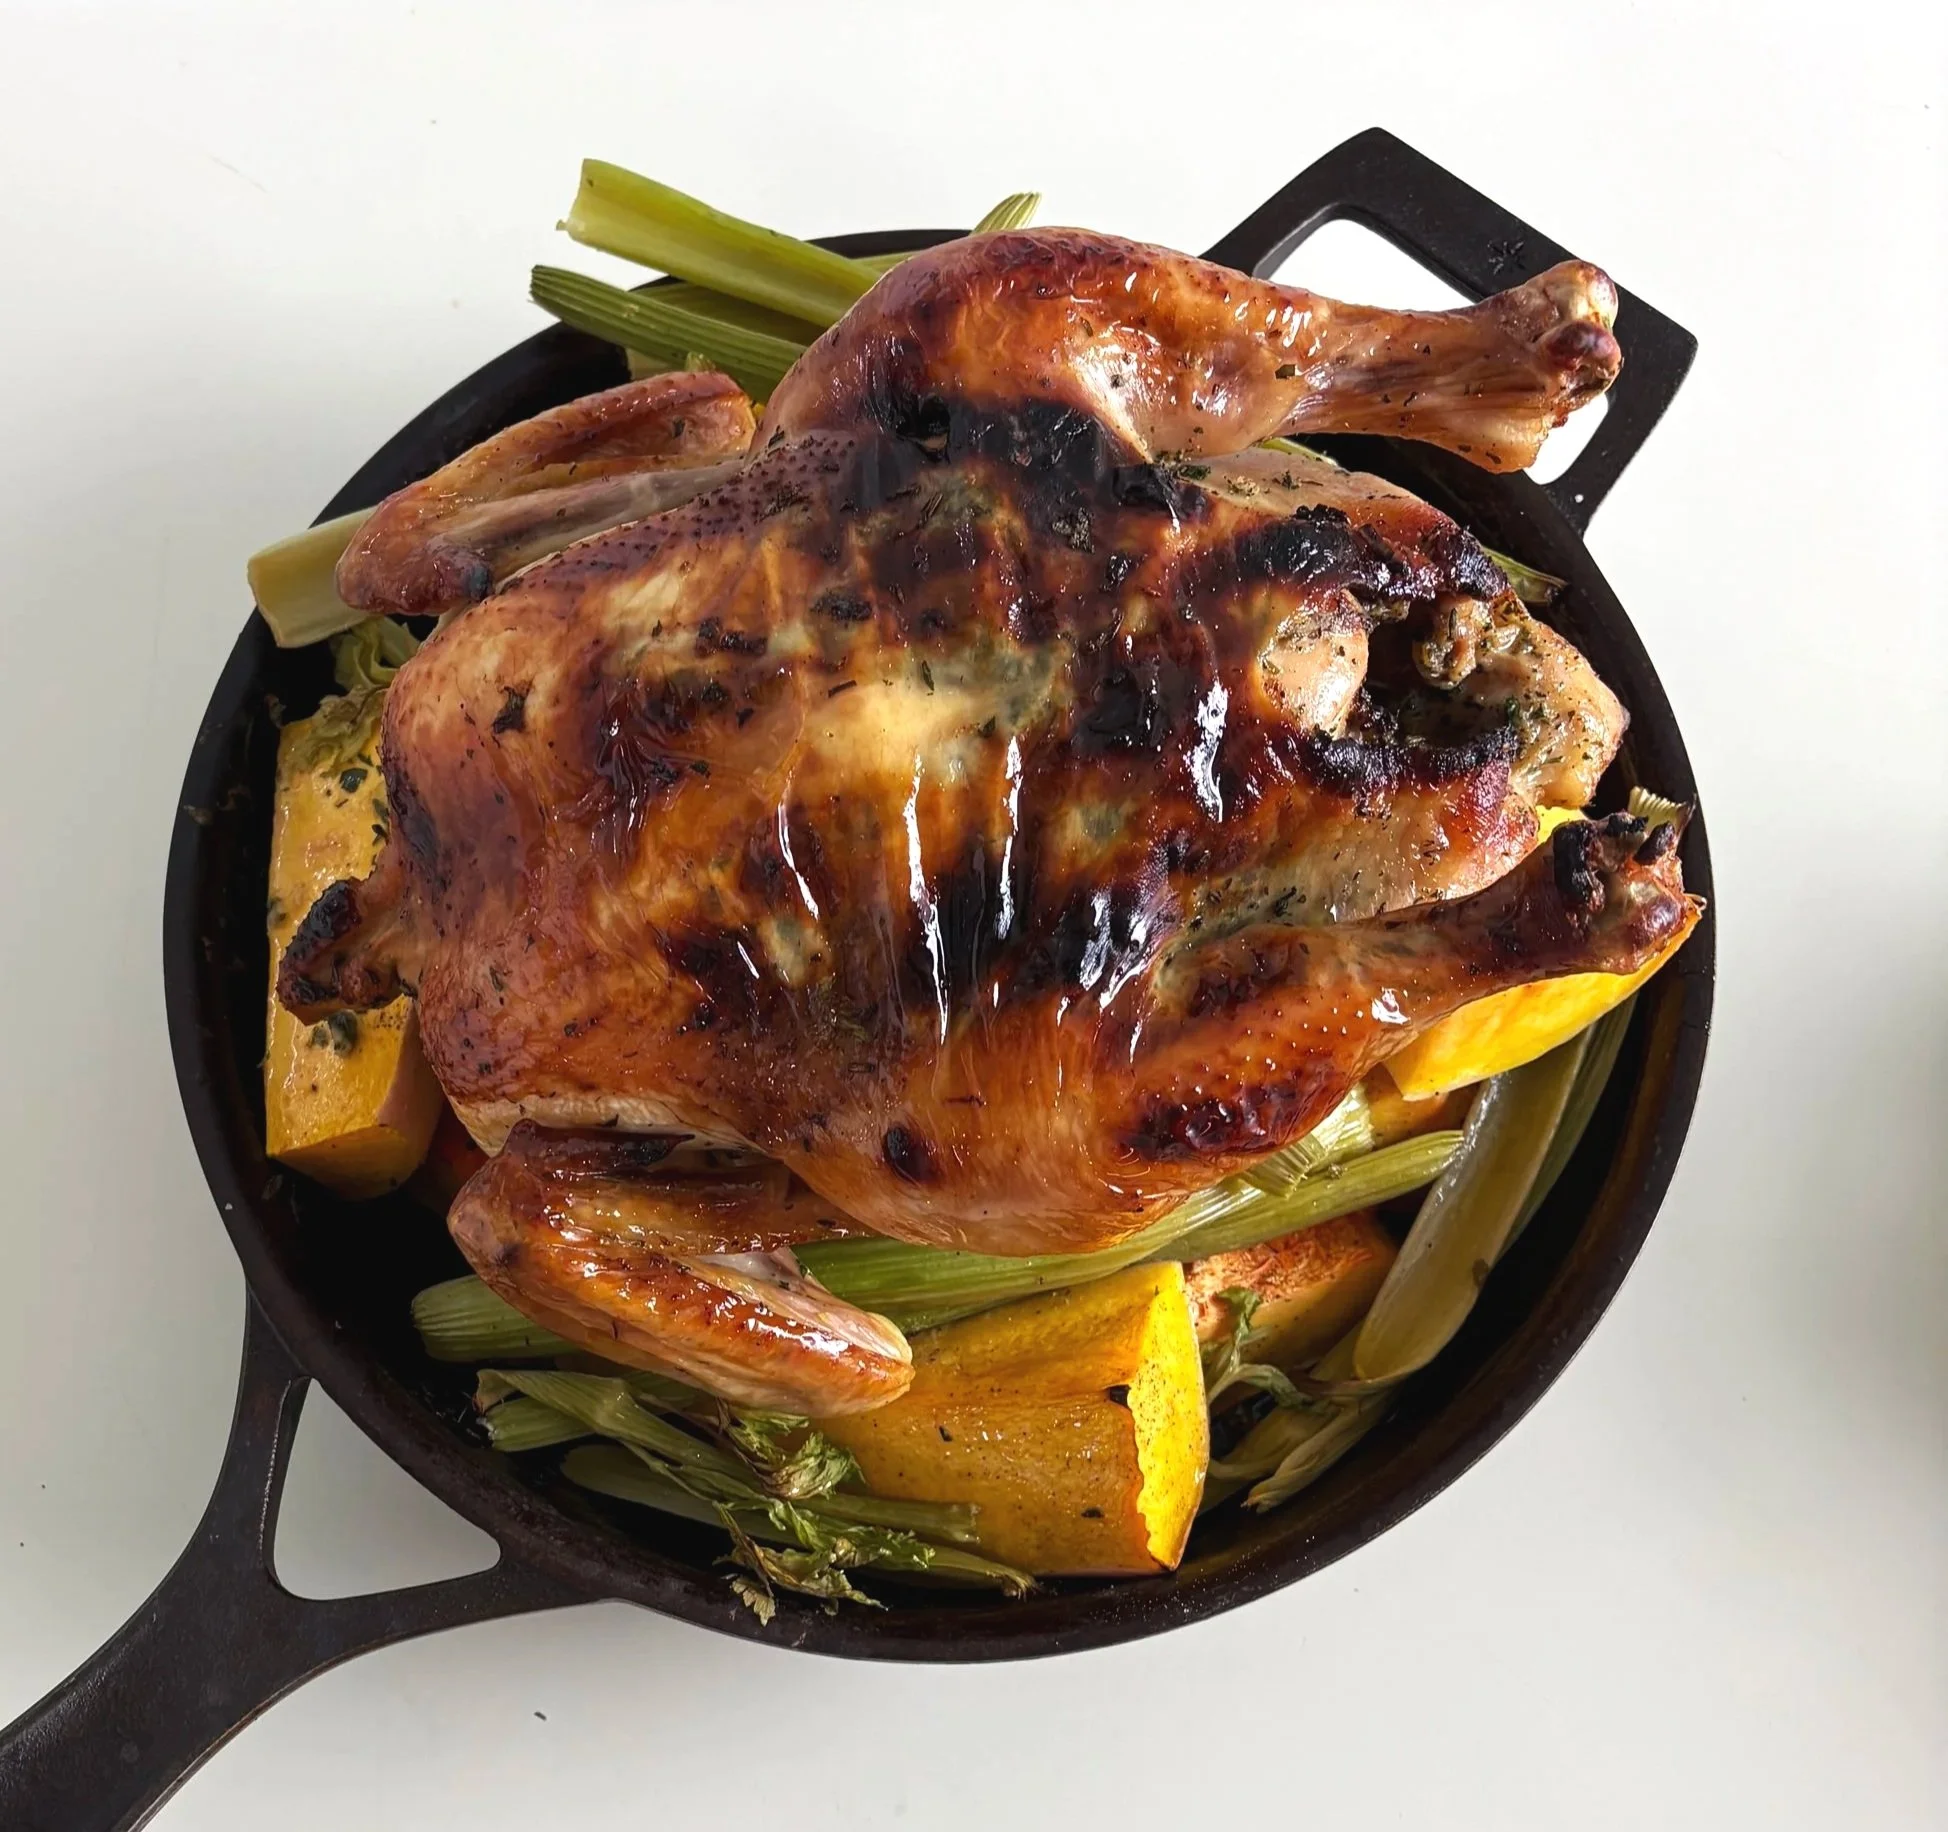
The thigh cooked faster than the breast because it was closer to the heat radiating from the bottom of the pan. That’s OK though because thigh meat can take higher temperatures than breasts can. I pulled this out when the breast was at 155° F and the thigh was at 170° F – this is basically perfect tbh. Both the breast and thigh were tender but the thigh wasn’t as salty as I wanted it to be. The skin that touched the celery was also paler and chewer than the skin on the first bake’s chicken since it did come into contact with the pan’s surface, but that was to be expected. The celery grid helped get more air flow under there a little bit but not sure if the cook would have been much different without it. It does look cooler though.
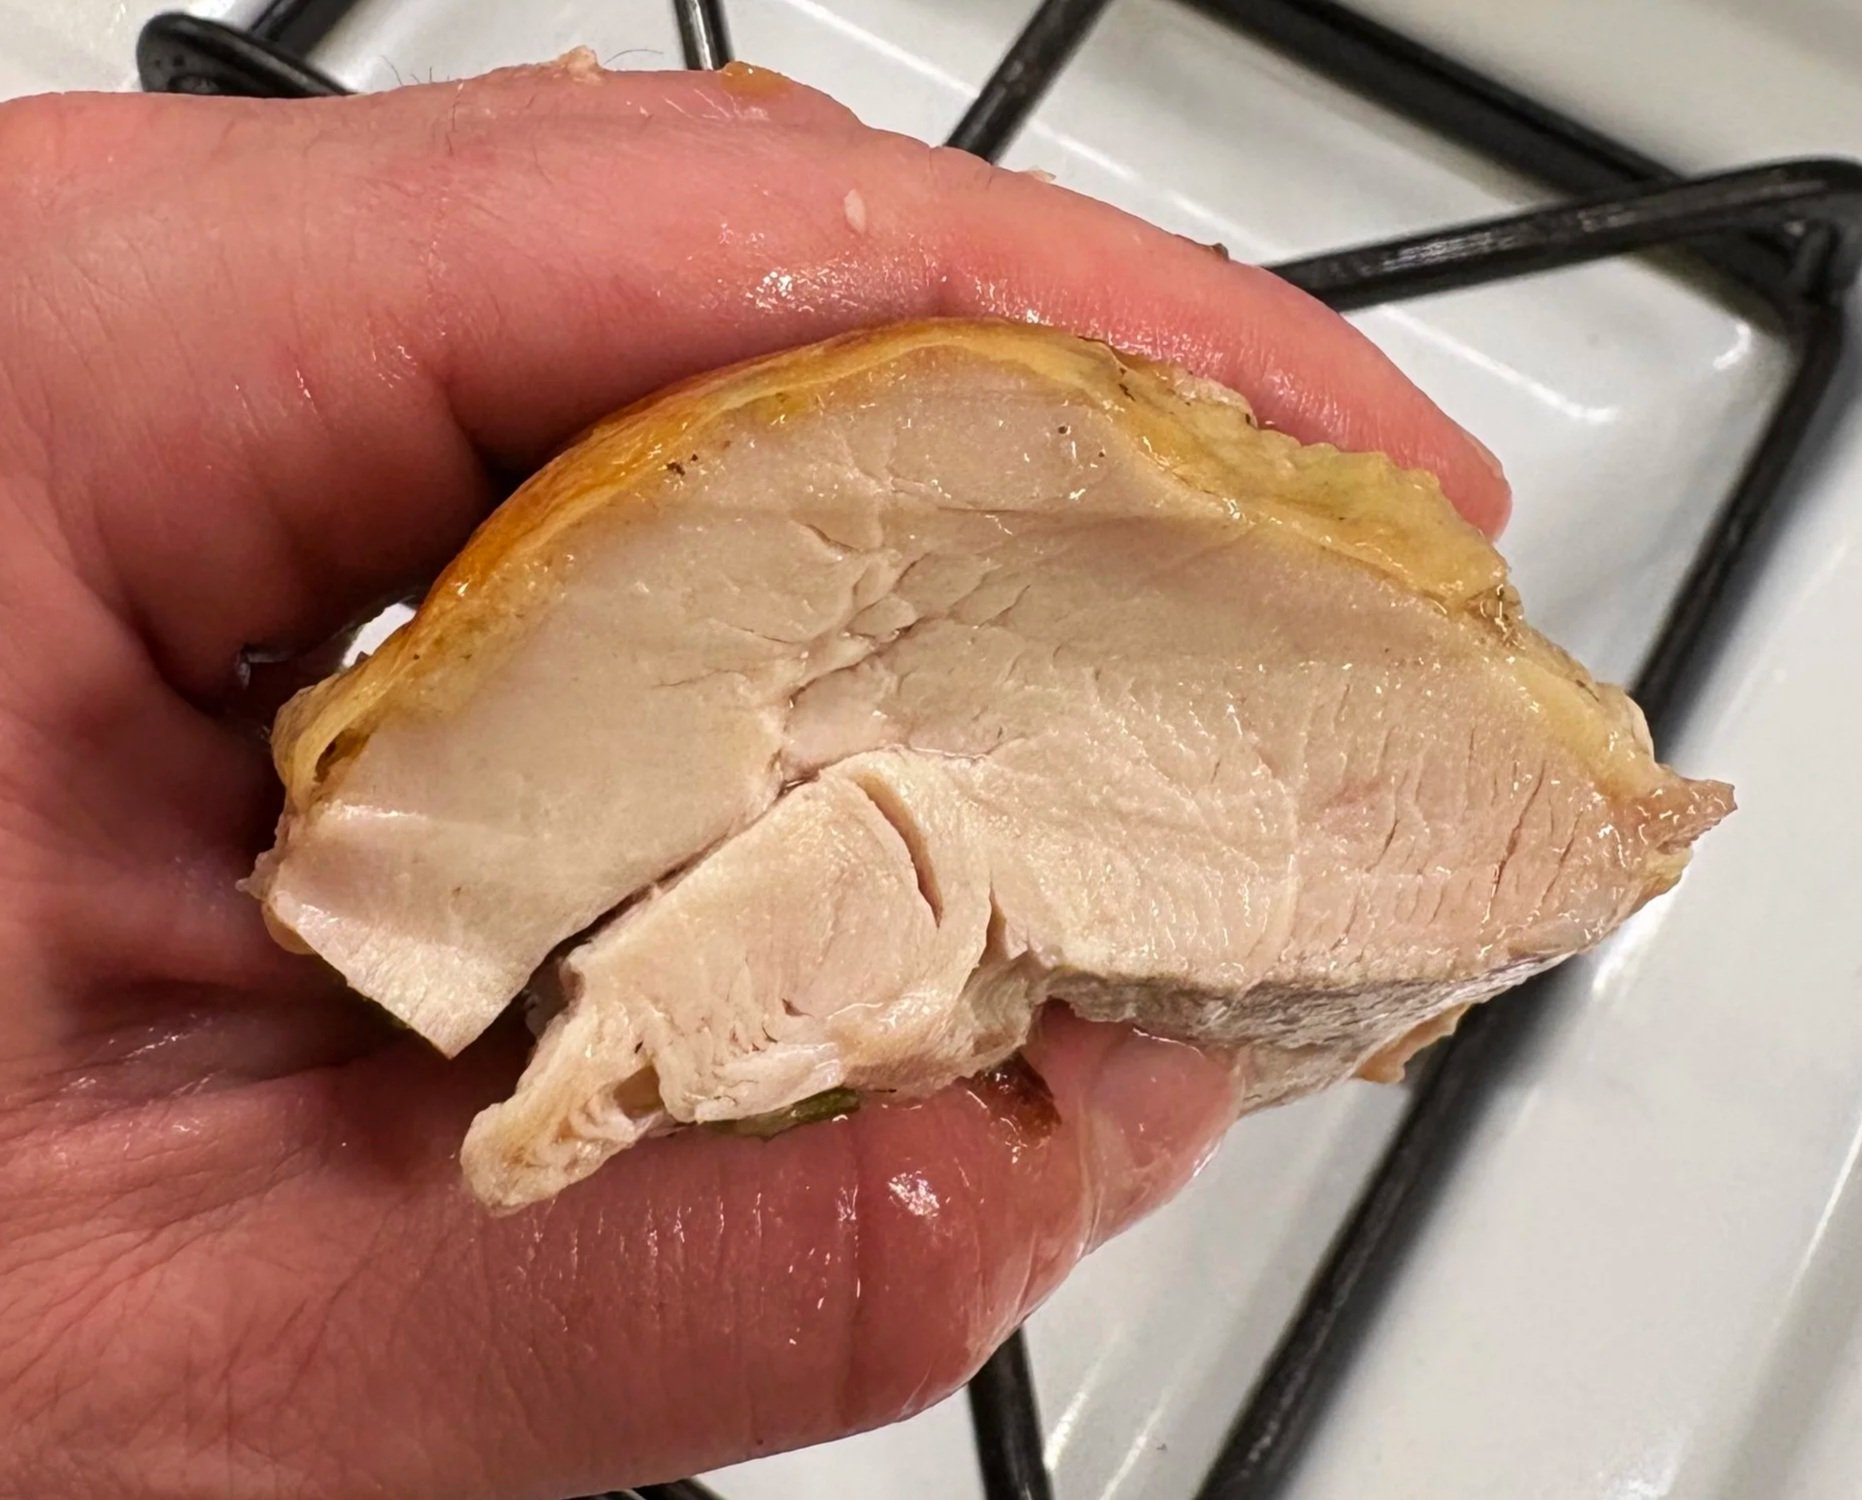
Breast
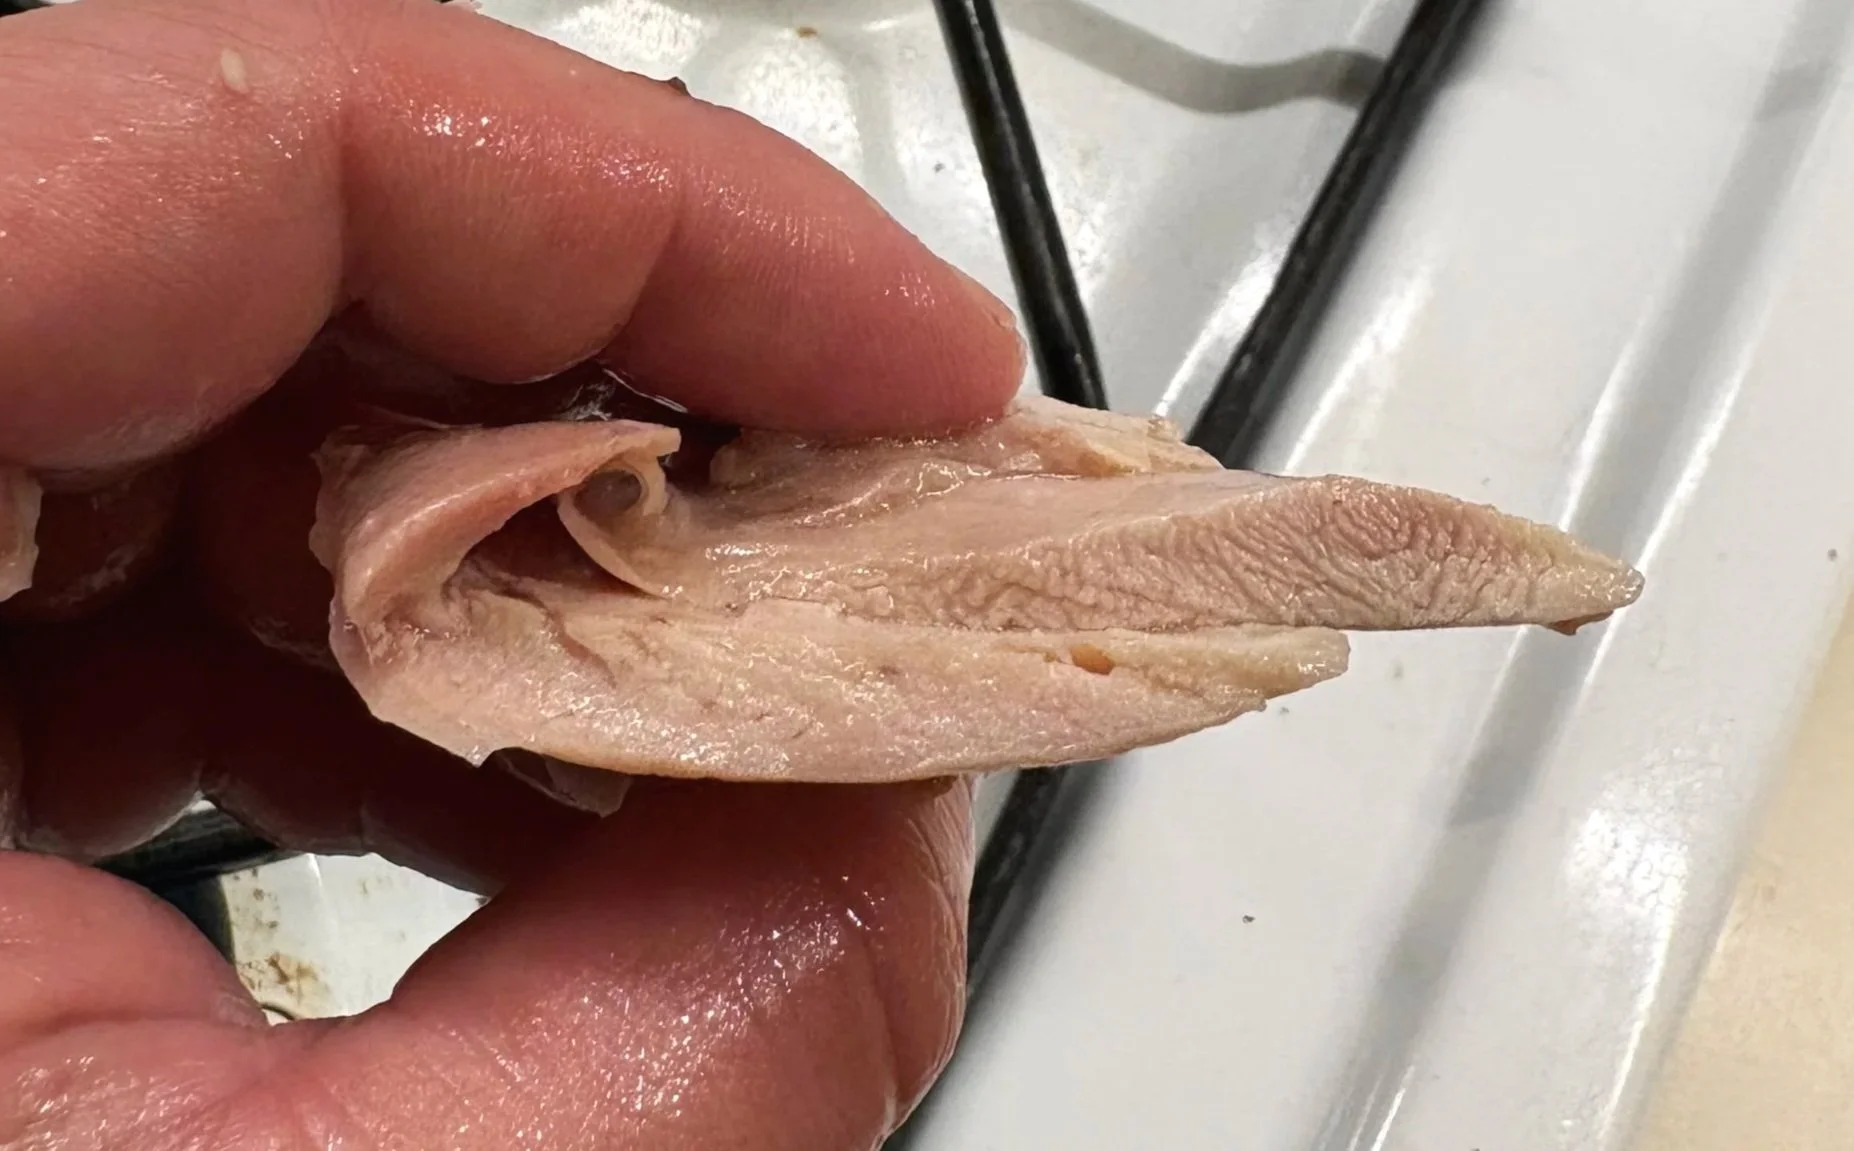
Thigh
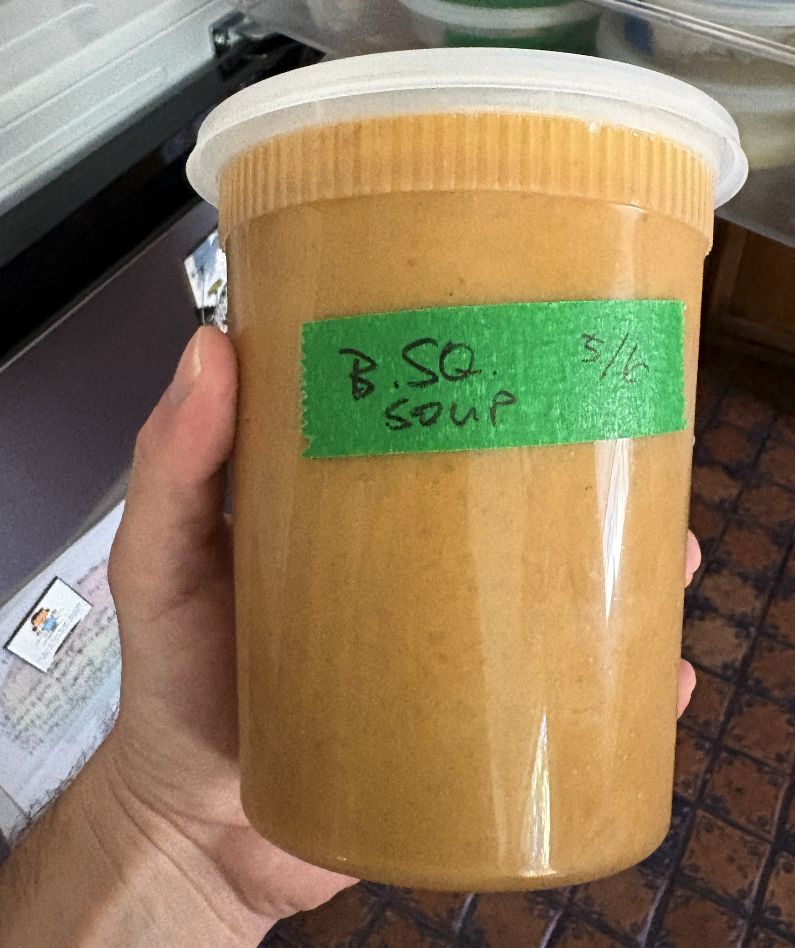
Chris made butternut squash soup from the vegetables.
It tasted very chicken-y.
Beans
Beans.
Toothy beans are really hot rn, and indeed they are delicious. But there’s a difference between toothy and “al dente,” which simply should not be a thing for beans. What to worry about:
Soaking
Technically, you don’t need to soak your beans if you cook them long enough I suppose. But also, how can there be a “fresh dry bean” a la Rancho Gordo? If the bean is already dry, isn’t it the driest it can already be? Soaking will drastically reduce cooking time and also improve texture significantly. If you want your beans to be “less beany,” you can dump the water out that they soaked in, but all the toxins will cook off during the cooking process regardless so don’t worry about it too much.
Different beans should have different soaking times! Believe it or not, big beans should be soaked less so as much of their skins can remain as possible, their skin loosens easily. Small beans, like black or pinto, can take overnight soaking since their skins remain more attached and are better when they’re softer anyway, imo.
Cooking Time
The Internet Shaquille method for cooking beans is the best method, since no two batches of beans will cook the same, even if they are “identical.” I cover them with enough water so there’s like two inches between the water’s surface and the beans. Then I boil them for at least 10 minutes to make sure the water is indeed hot enough to cook them, skimming any grayish muck from the top, after which I cover and turn the heat down to as low as it can go while still keeping the water at a simmer. Taste them every 30 minutes or so until you’ve had multiple that are to your liking. This is not a set-it-and-forget it situation.
Salt
Idk man… the jury is out on this one. Adding salt to beans too early (allegedly) makes them too hard to break down properly (does you grandma/auntie not salt her beans?) but adding it too late makes an under-seasoned bean, even if their broth itself is fine. Lately I’ve been salting their water after they’re soaked (a few big pinches) but before boiling it, while also adding baking soda ( ¼ tsp to 1 cup of dry beans) which helps beans get a creamier texture. I’ve had some success with recent bean cooks doing this as of late, and have also found that allows for better control over how salty your broth must be (I add salt to taste to their broth after the beans themselves are done cooking if it’s not salty enough)
After They’re Done
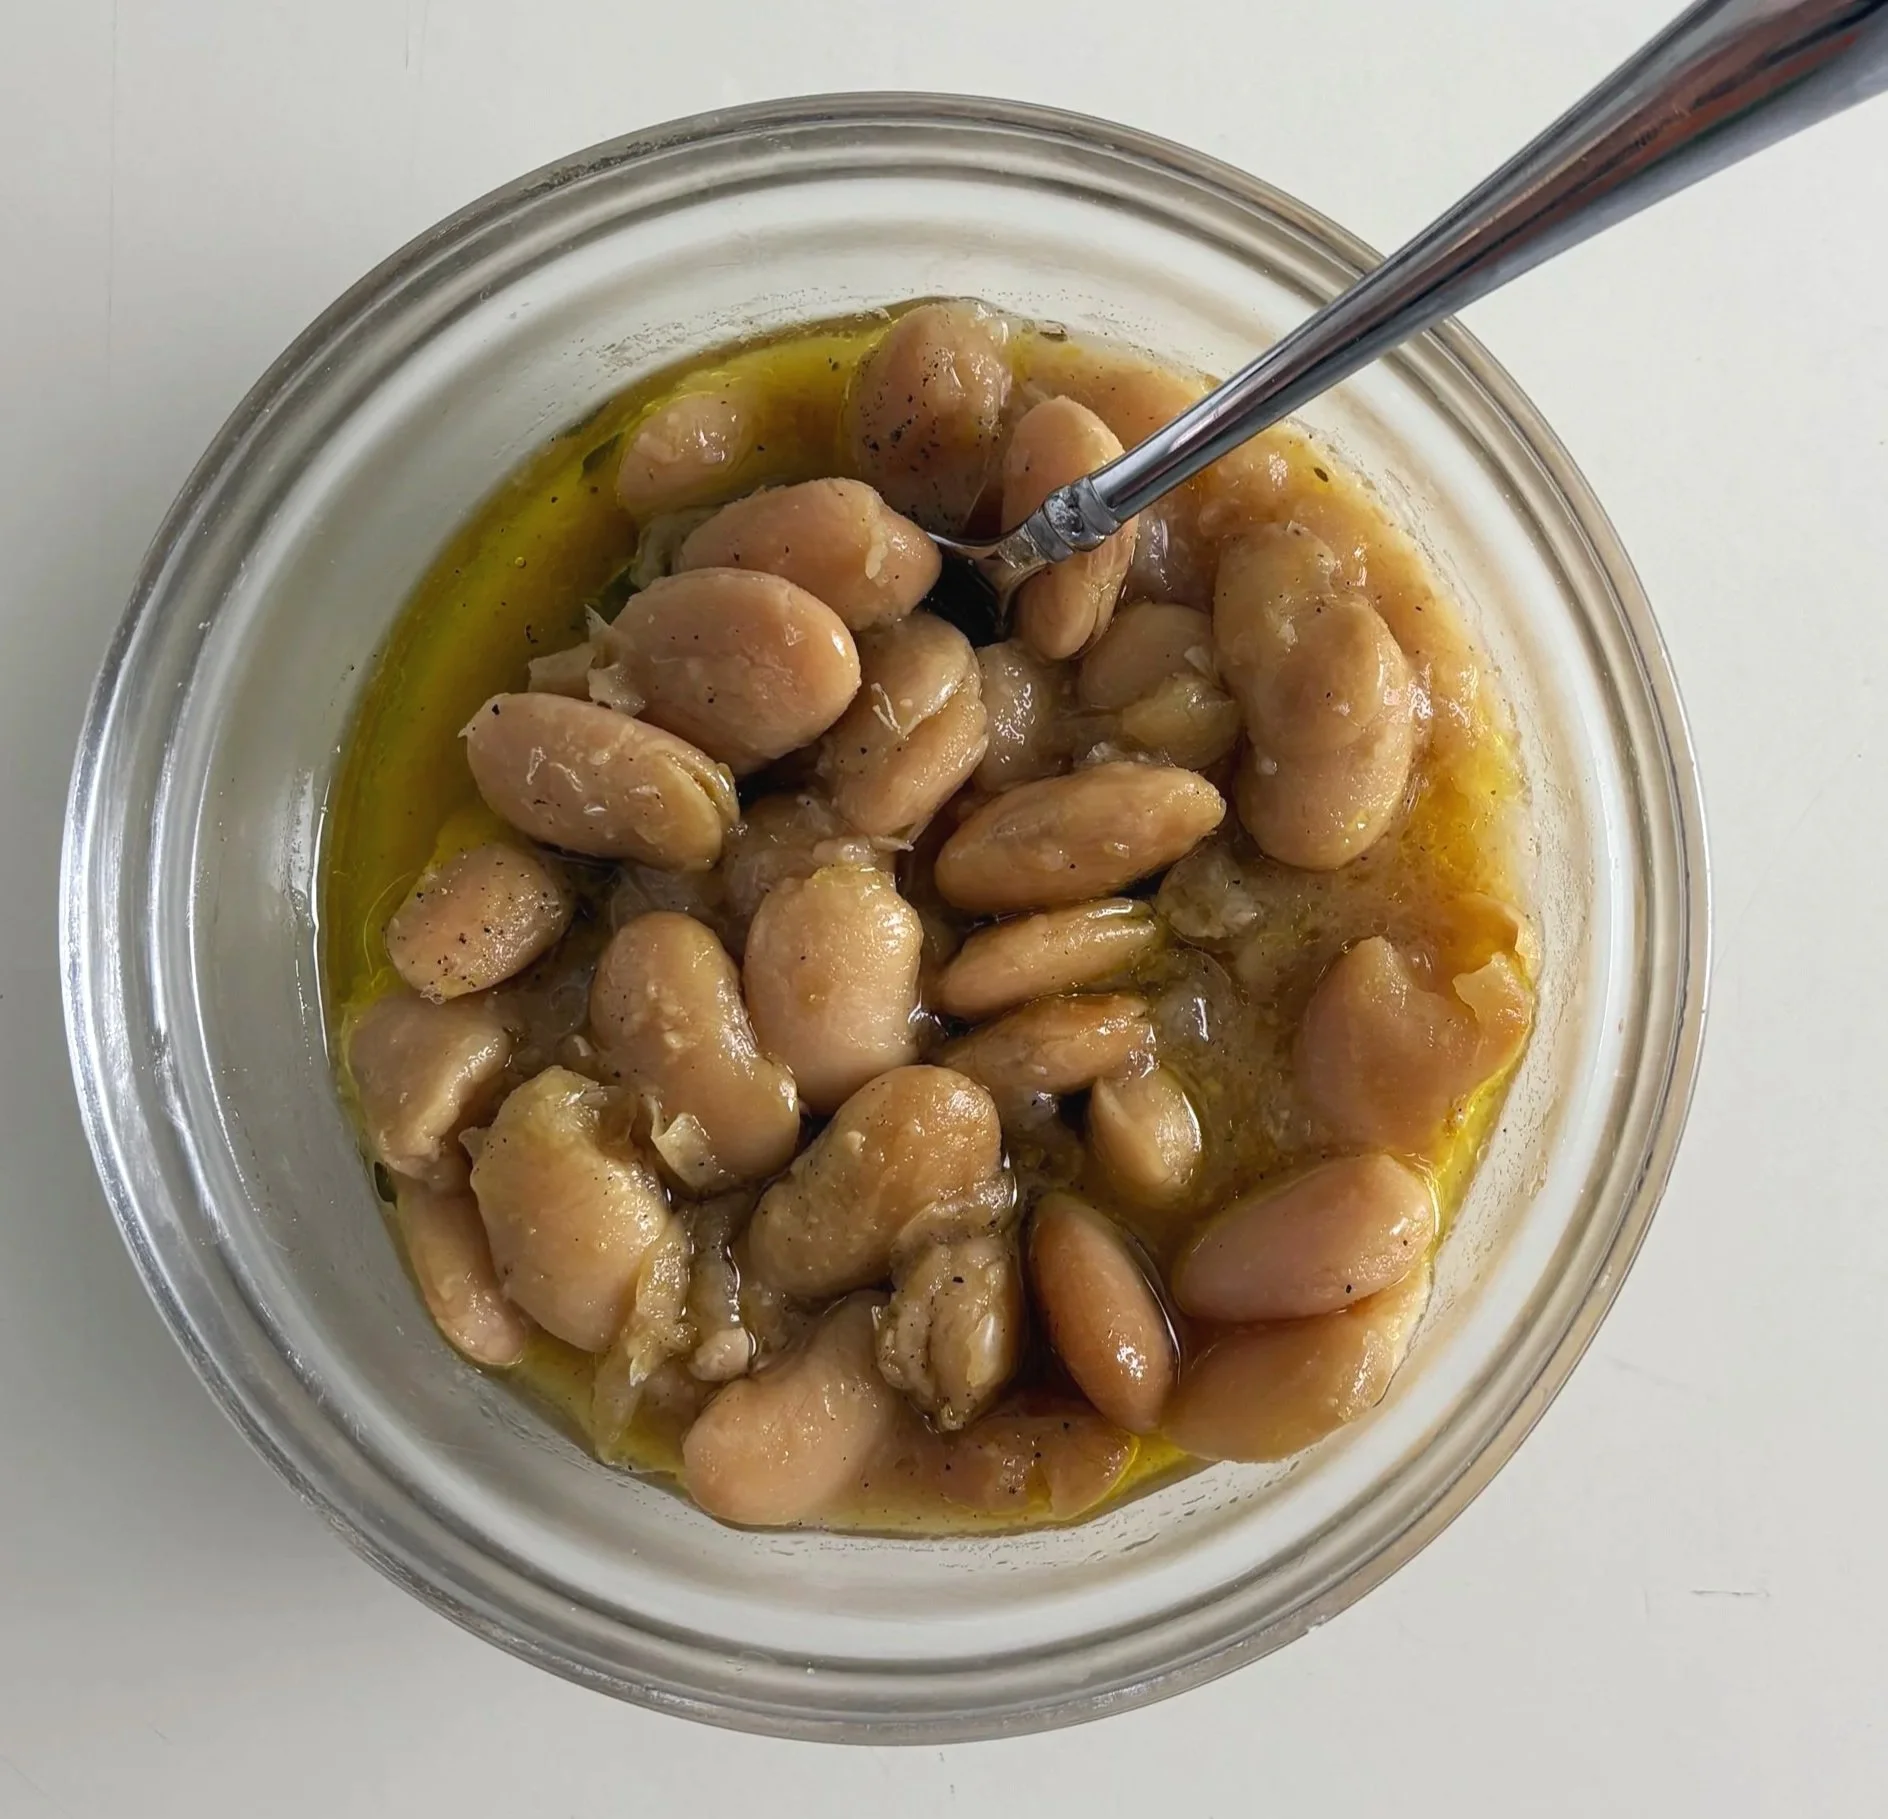
adding a splash of vinegar and some olive oil to your cooked beans can really go a long way to make them delish
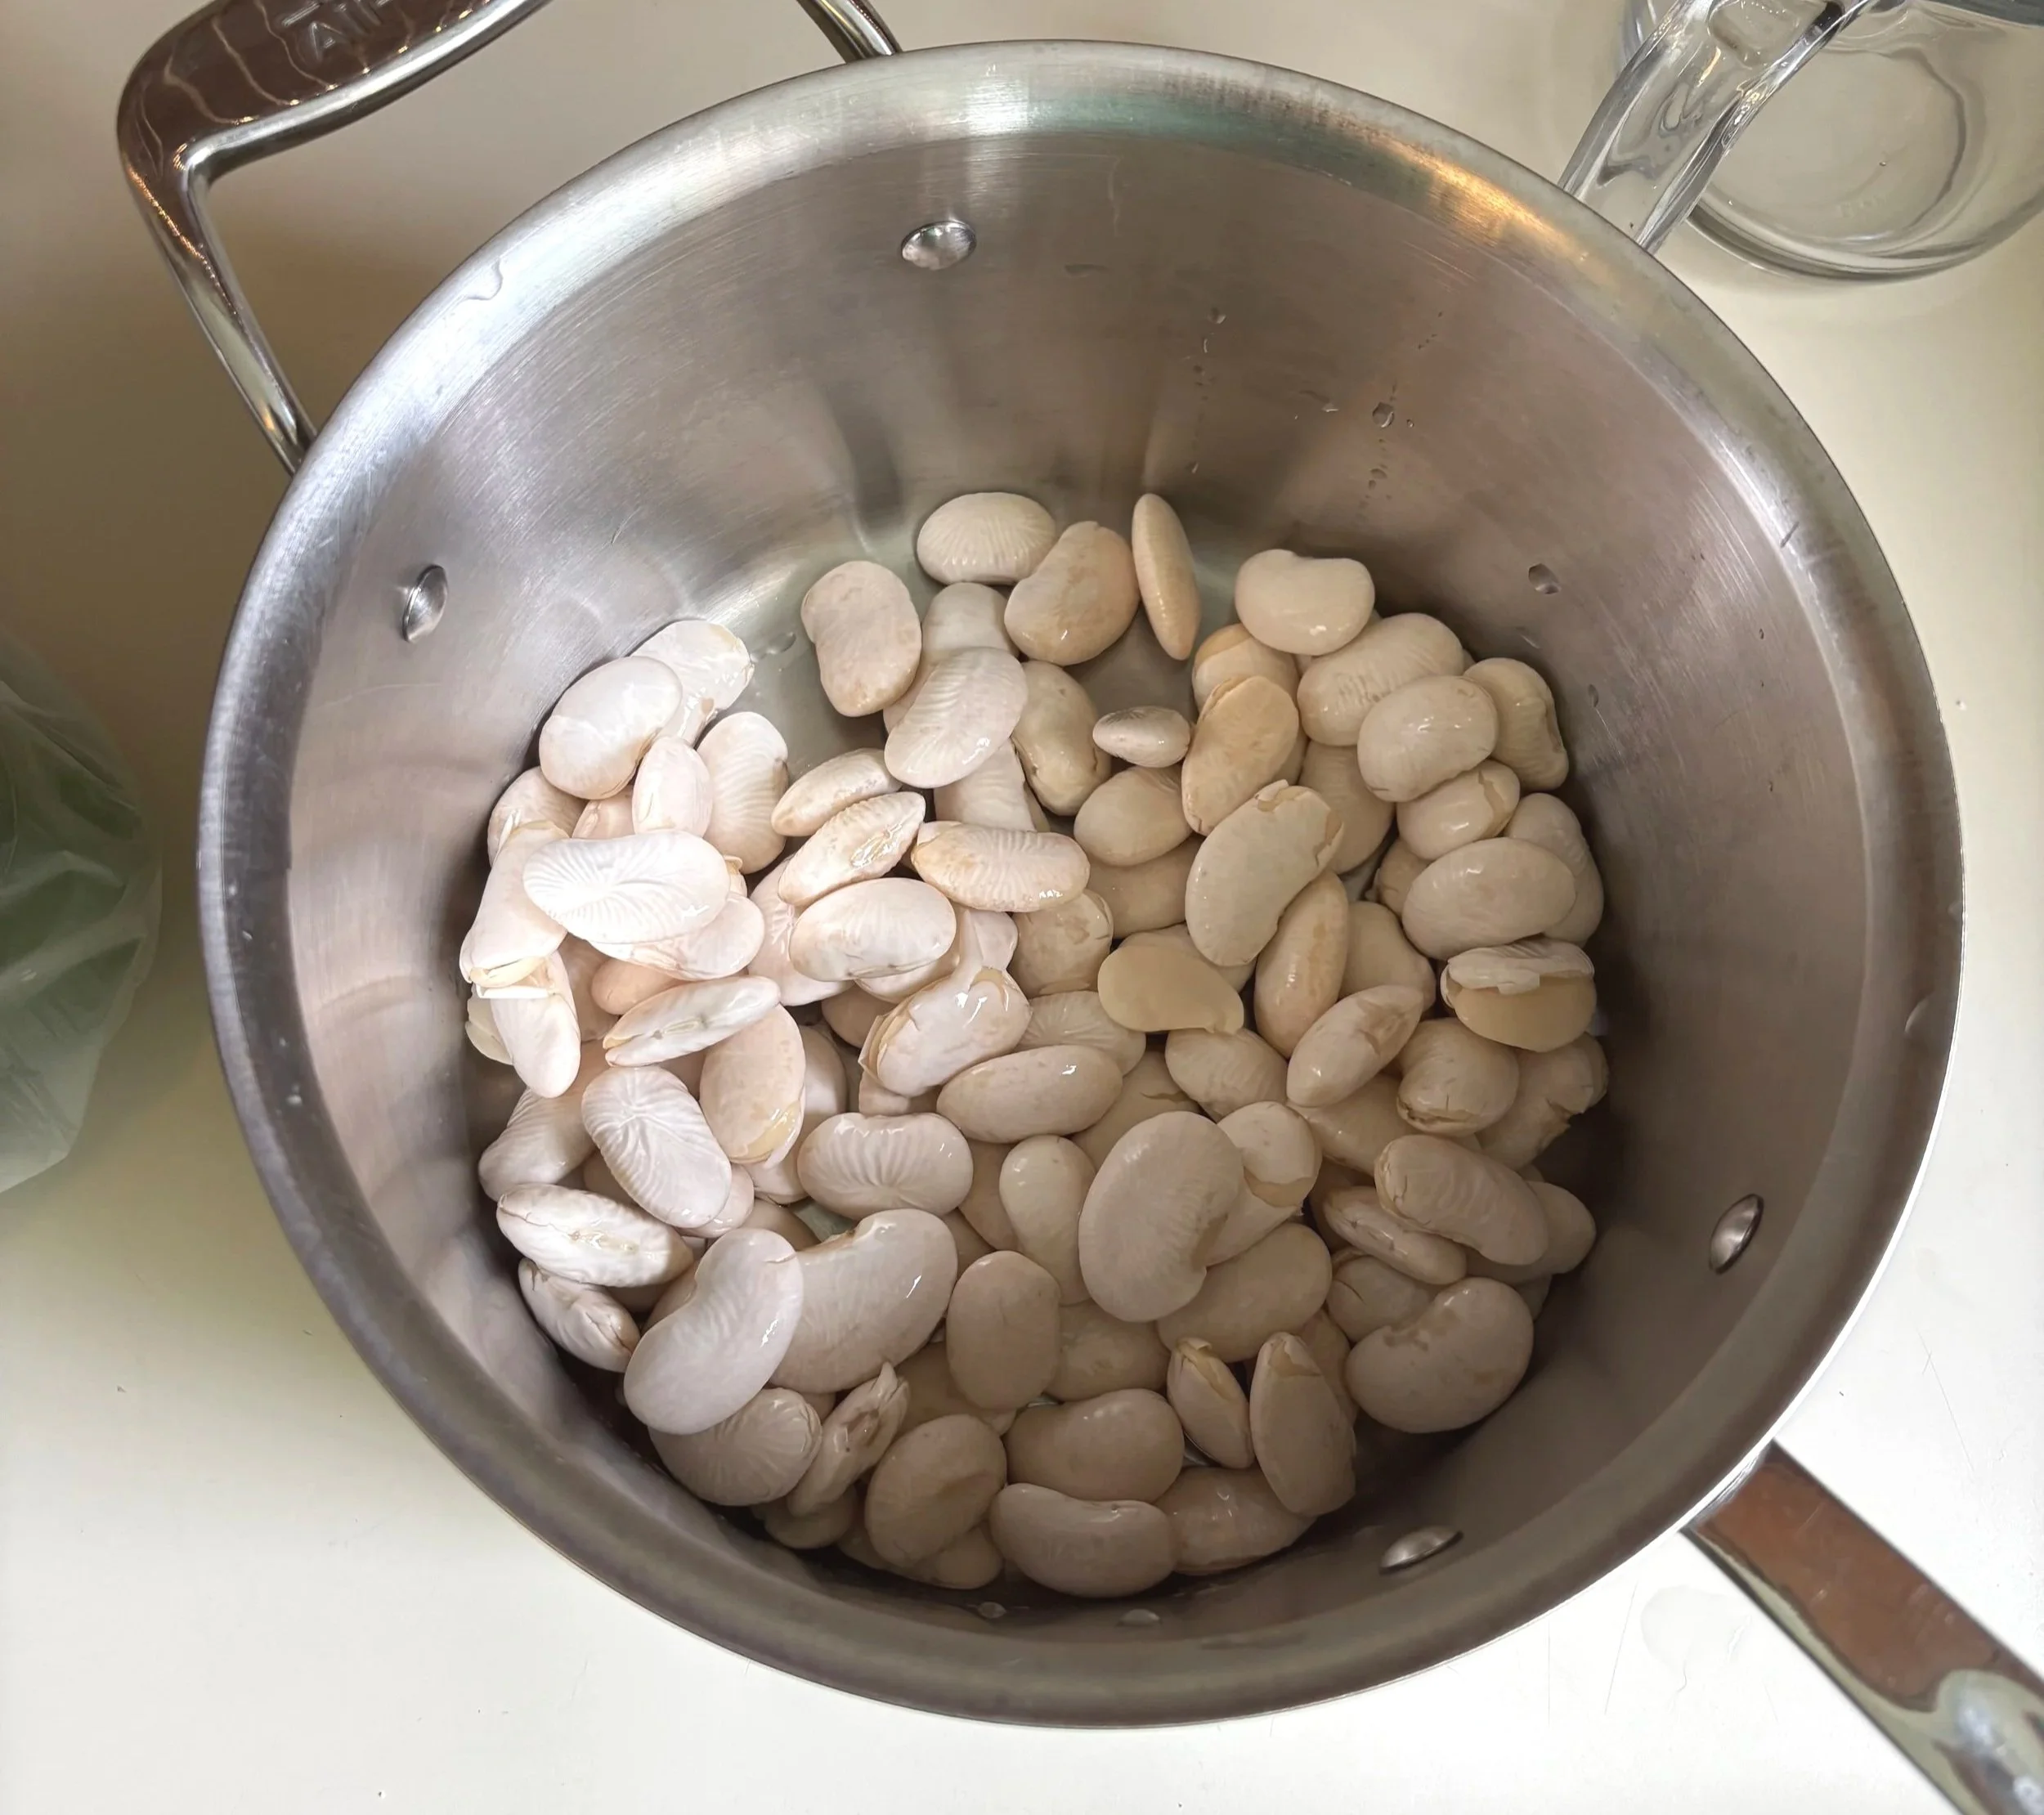
I soaked these big beans overnight and as you can see their skins are coming off. I probably should have done an hour max or not soak them at all, dare I say.
Call it counter intuitive, but I’ve found that the bigger the bean, the less you should soak.
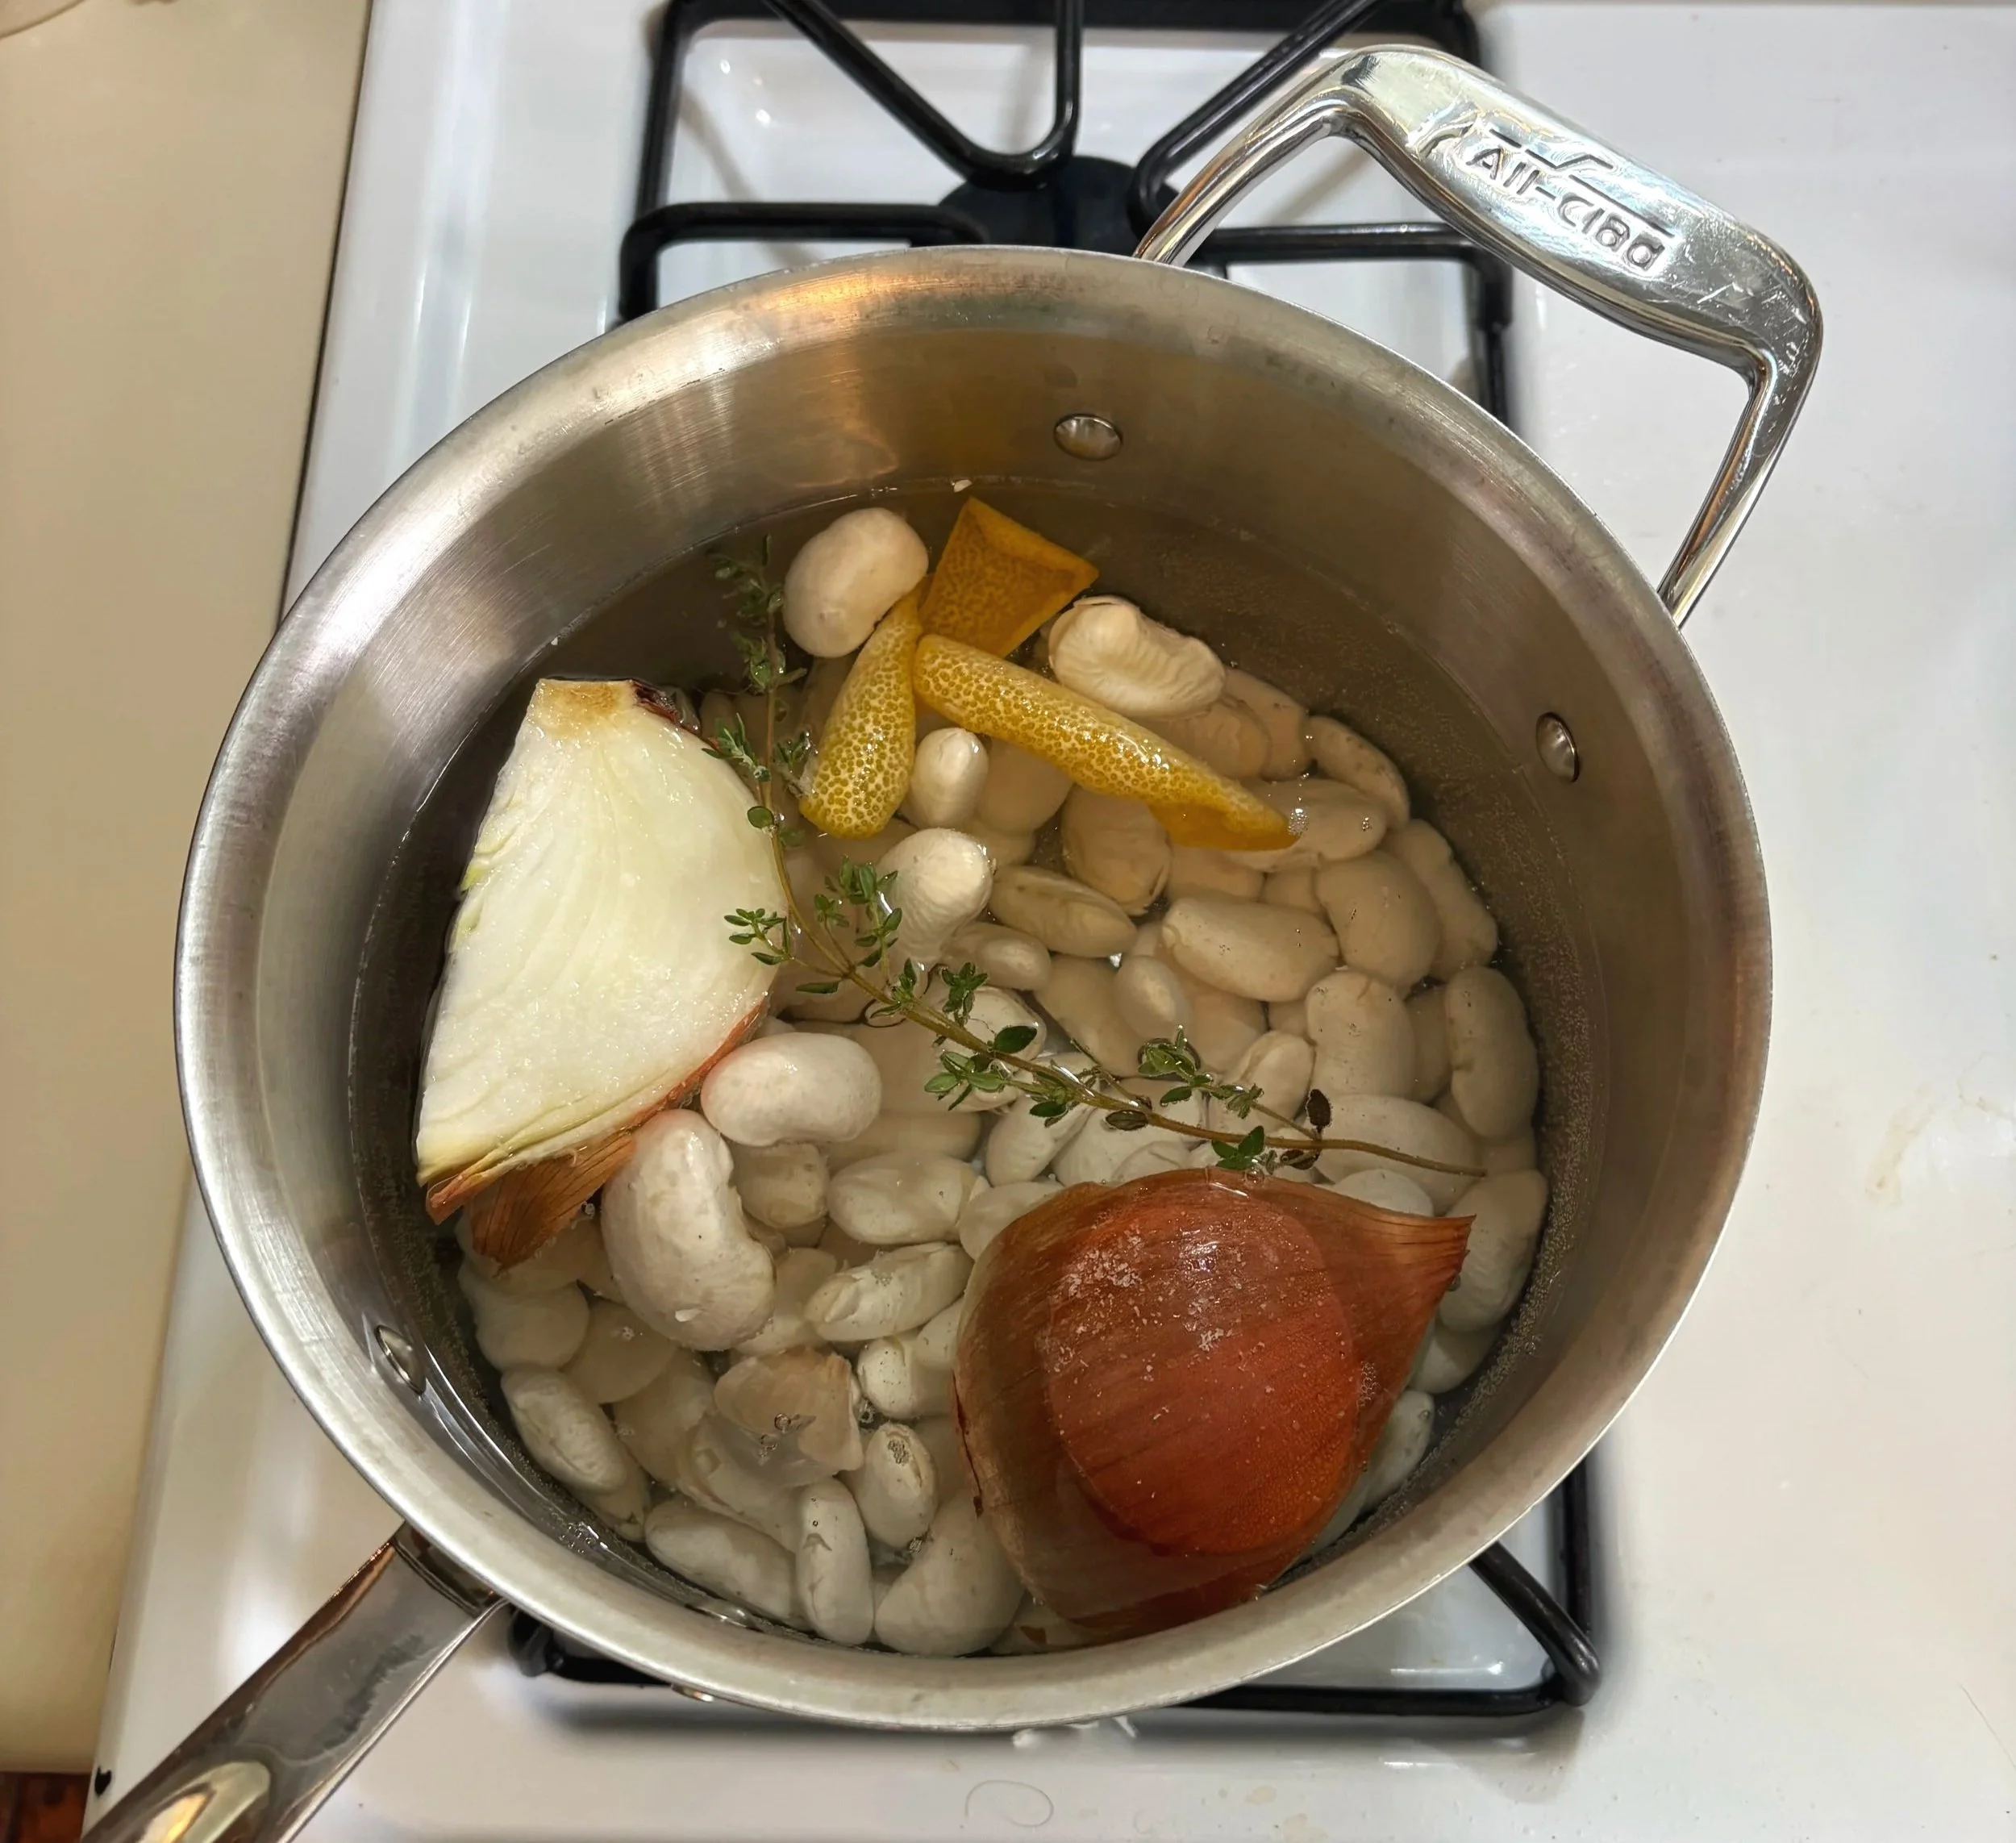
Aromatics you can’t go wrong with: onion, garlic, lemon peel, thyme (if you’re making Latin-inspired beans bayleaf is also a must).
You can also add a bit of stock if you wish. Sometimes I do. Sometimes I don’t.
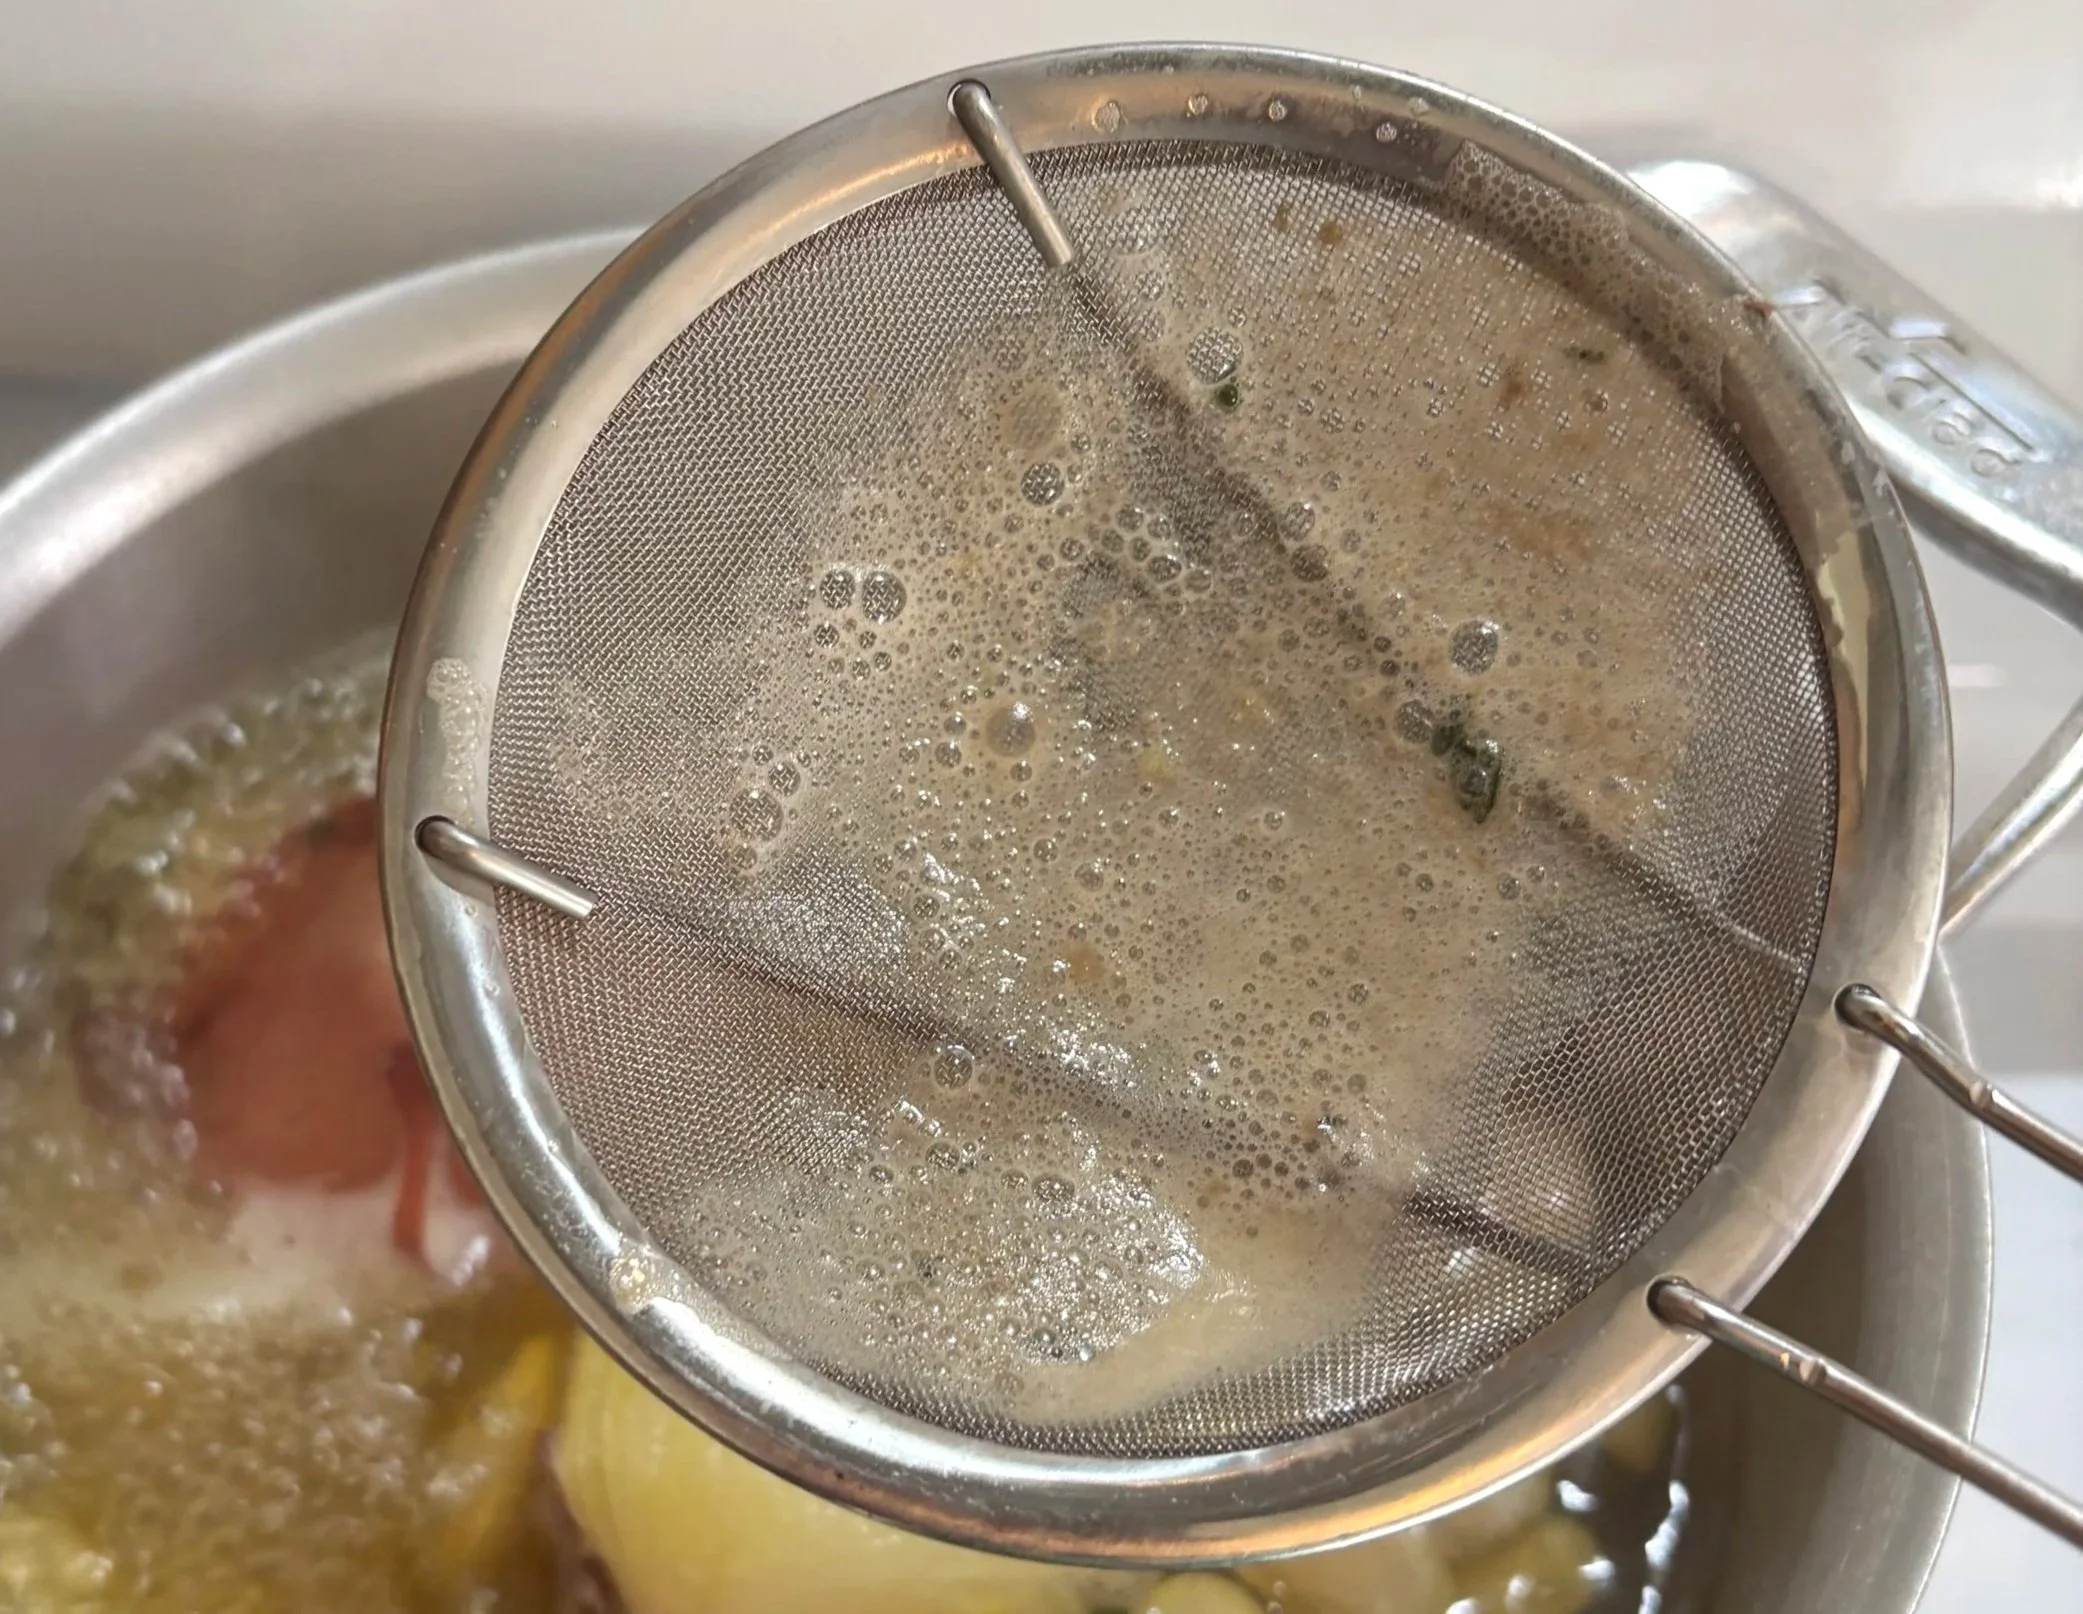
This is the kind of muck I’m talking about, which has a darker color and firmer structure than other white foamy substances that form.
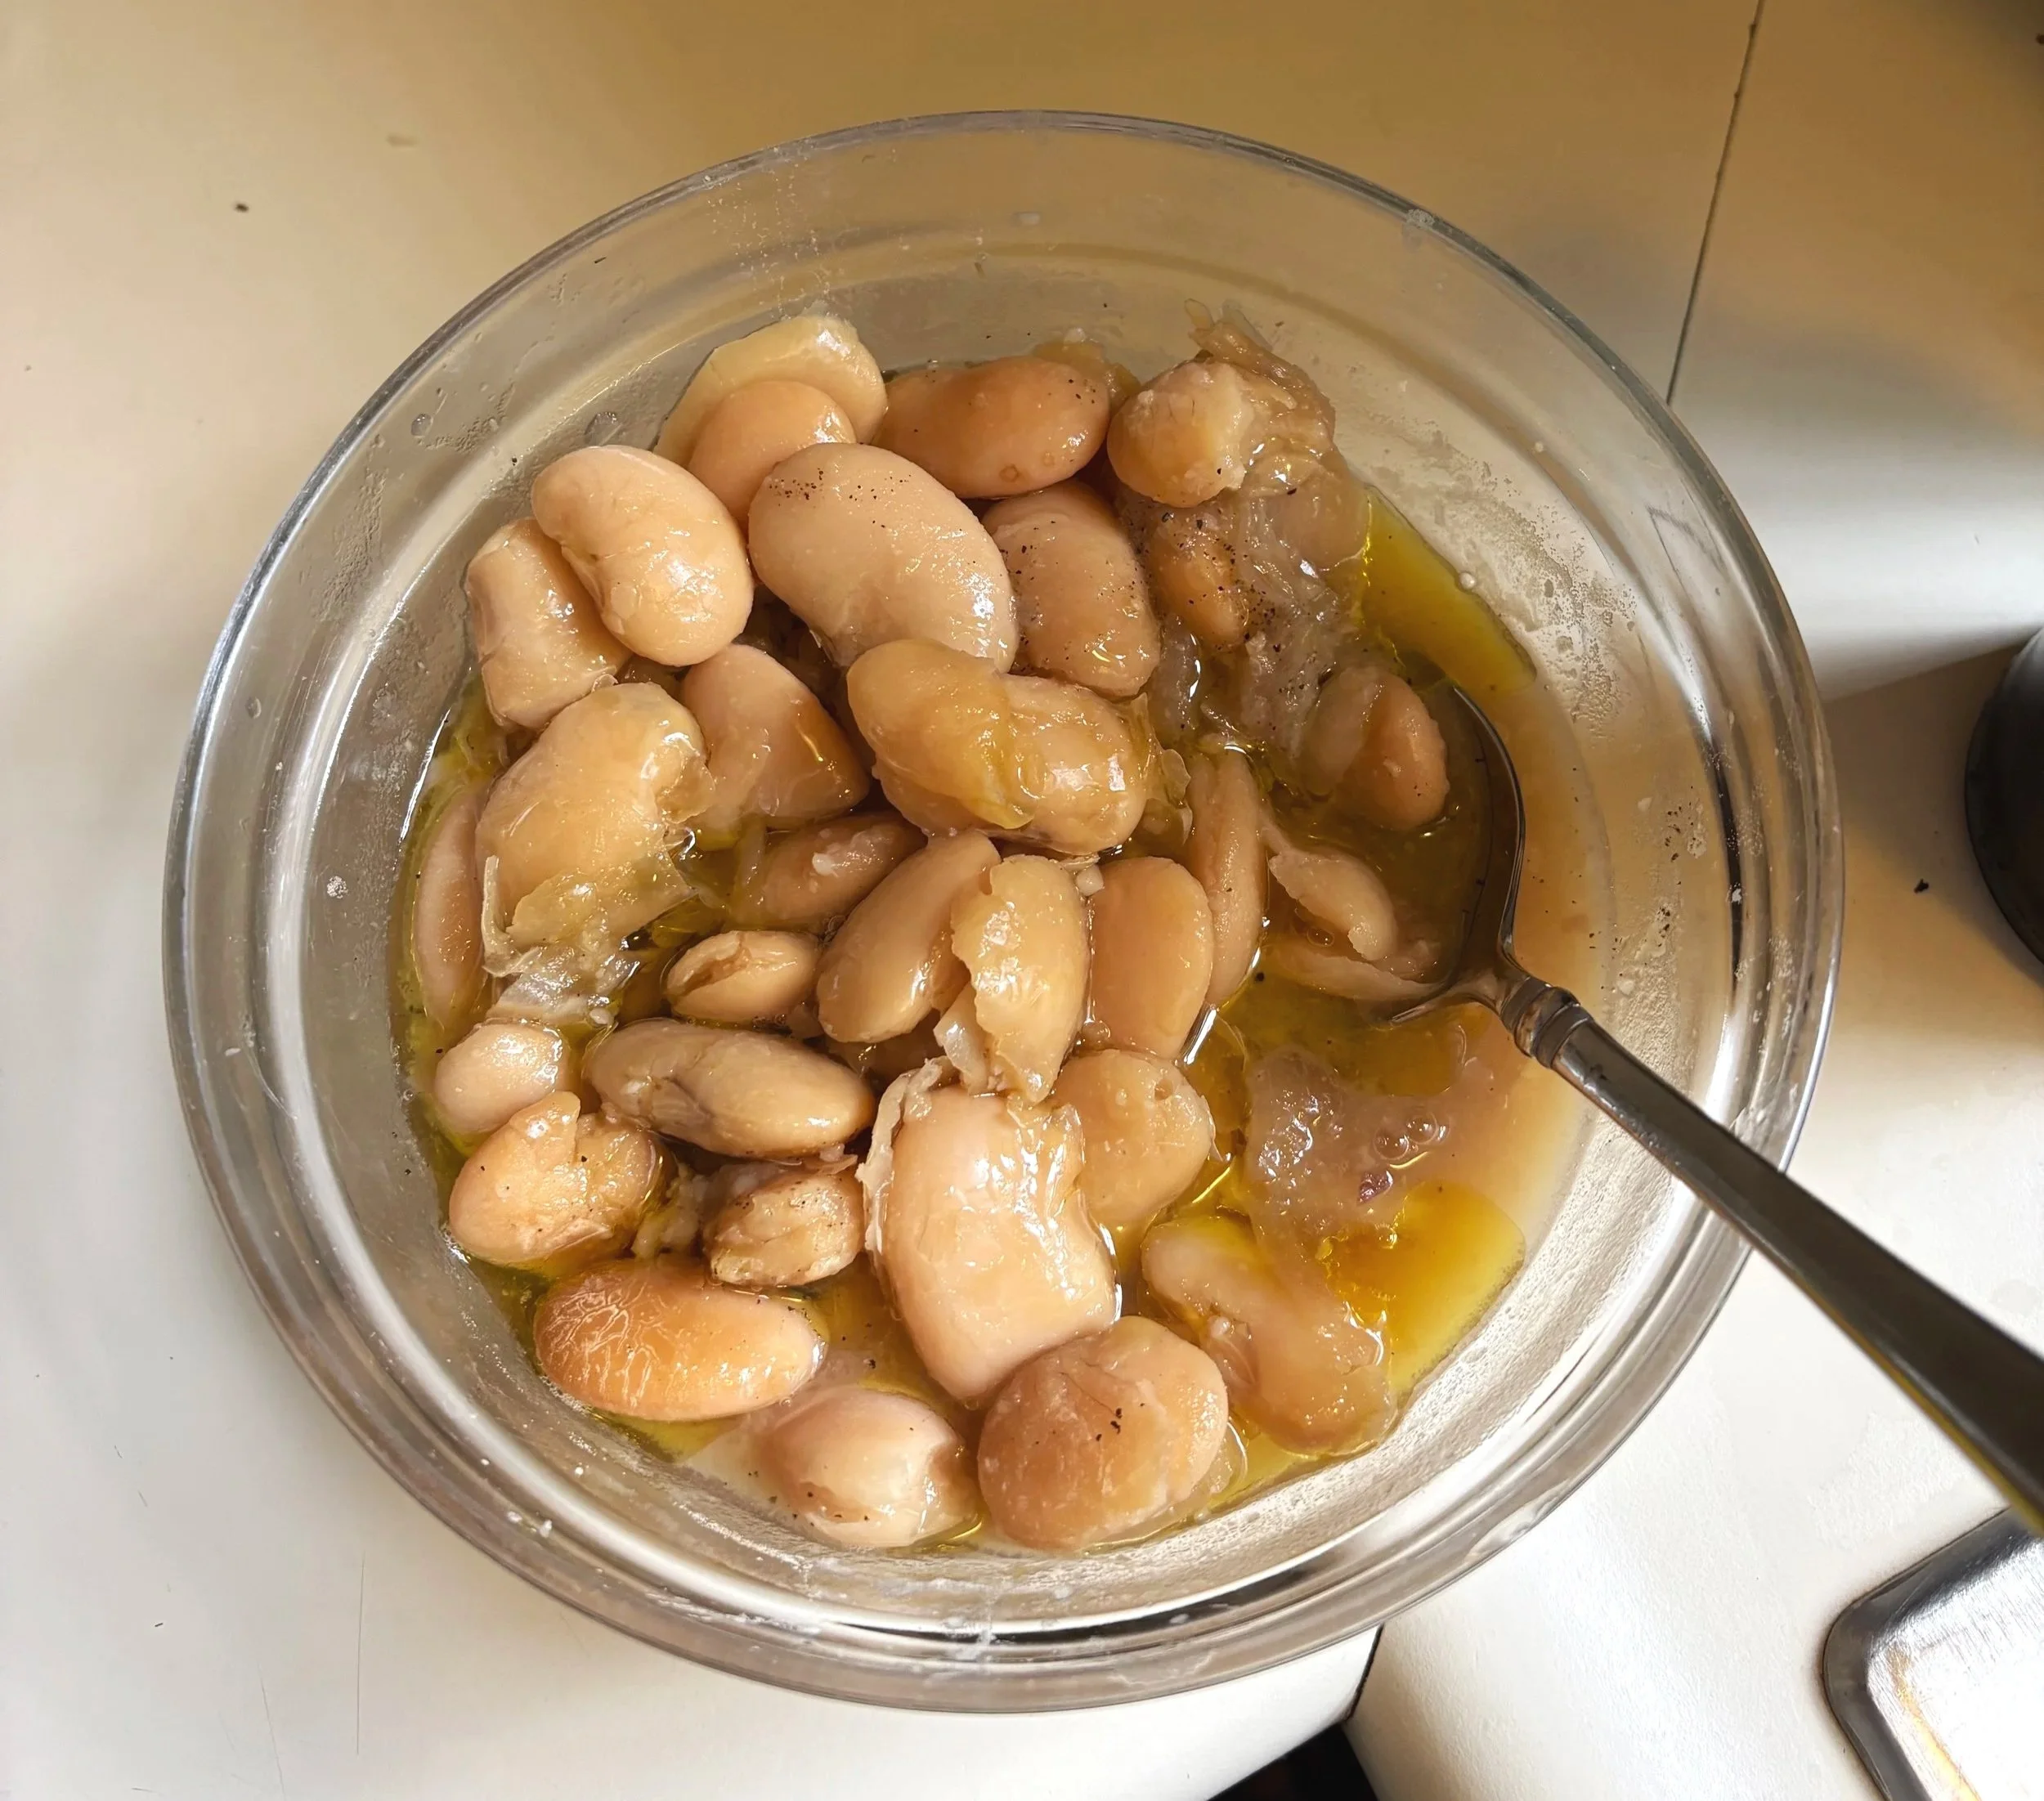
I cooked these beans for just a tad longer than I should have, about 15 minutes give or take if I had to guess (forgot to set a timer). I seasoned them with some sherry vinegar, olive oil, and Maldon salt though and they were still delish.